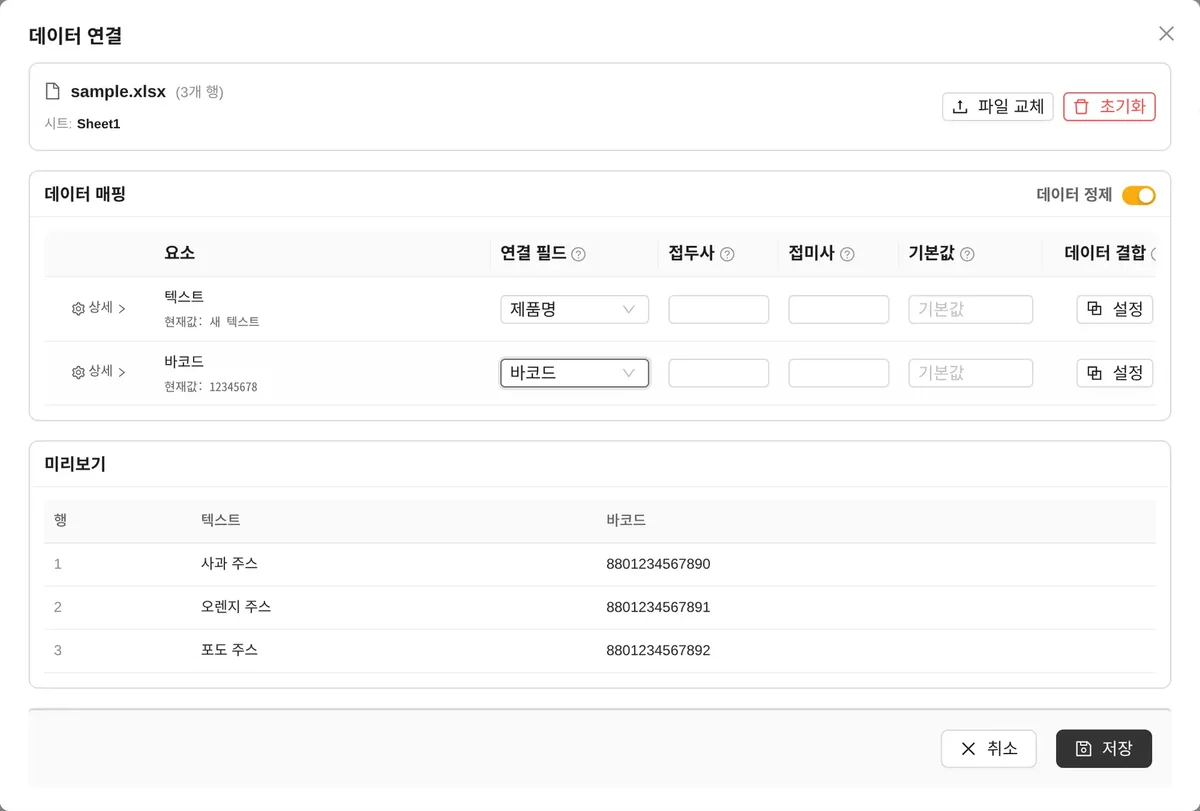
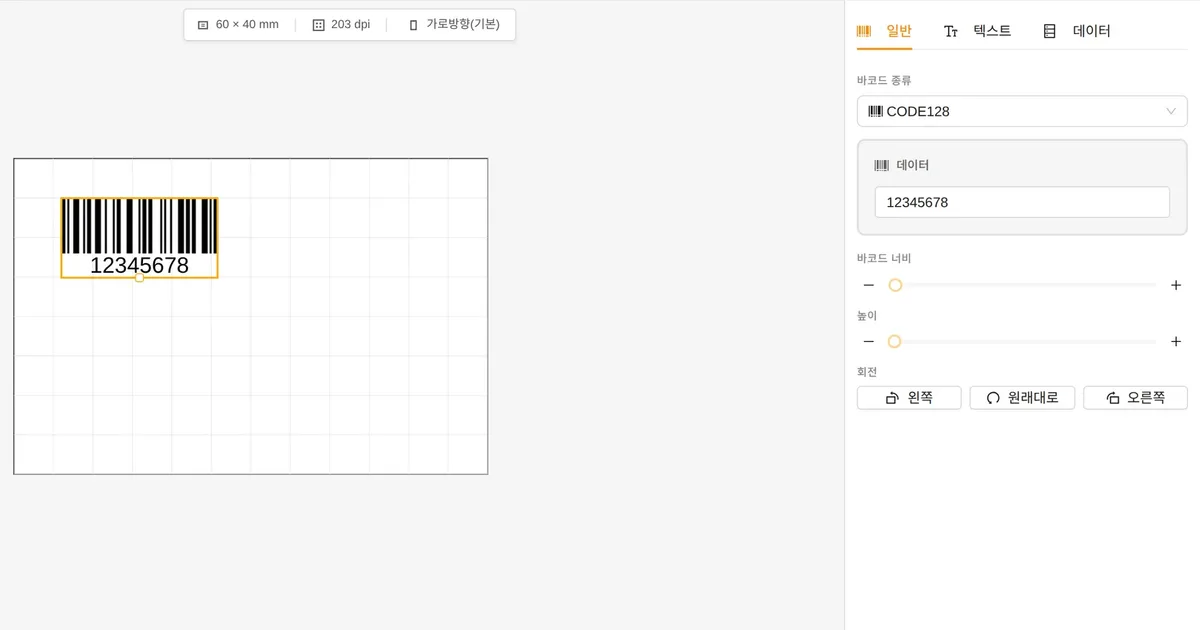
The 13-digit number (GTIN-13) on a product barcode label is set by the company using the company prefix it received as a GS1 member, and GoodLabel Designer's only job is to draw that number as bars. Number issuance and retailer rules are covered in GS1 barcode basics (info.woojuoa.co.kr), so this article goes step by step from entering the number you received to fitting the bars, digits, product name and price on one label.
EAN13 vs. EAN13(NEW)
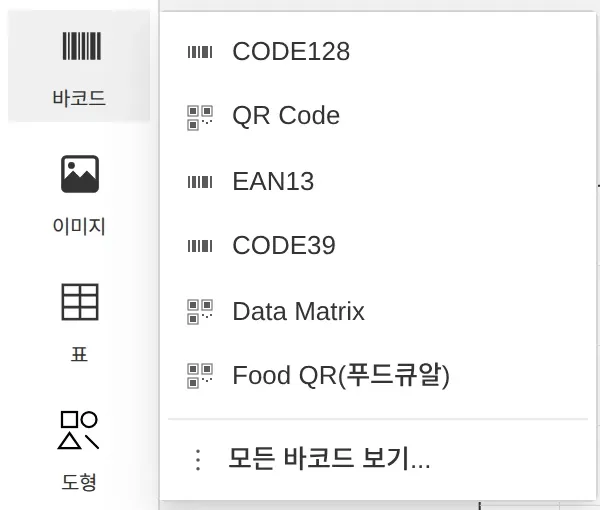
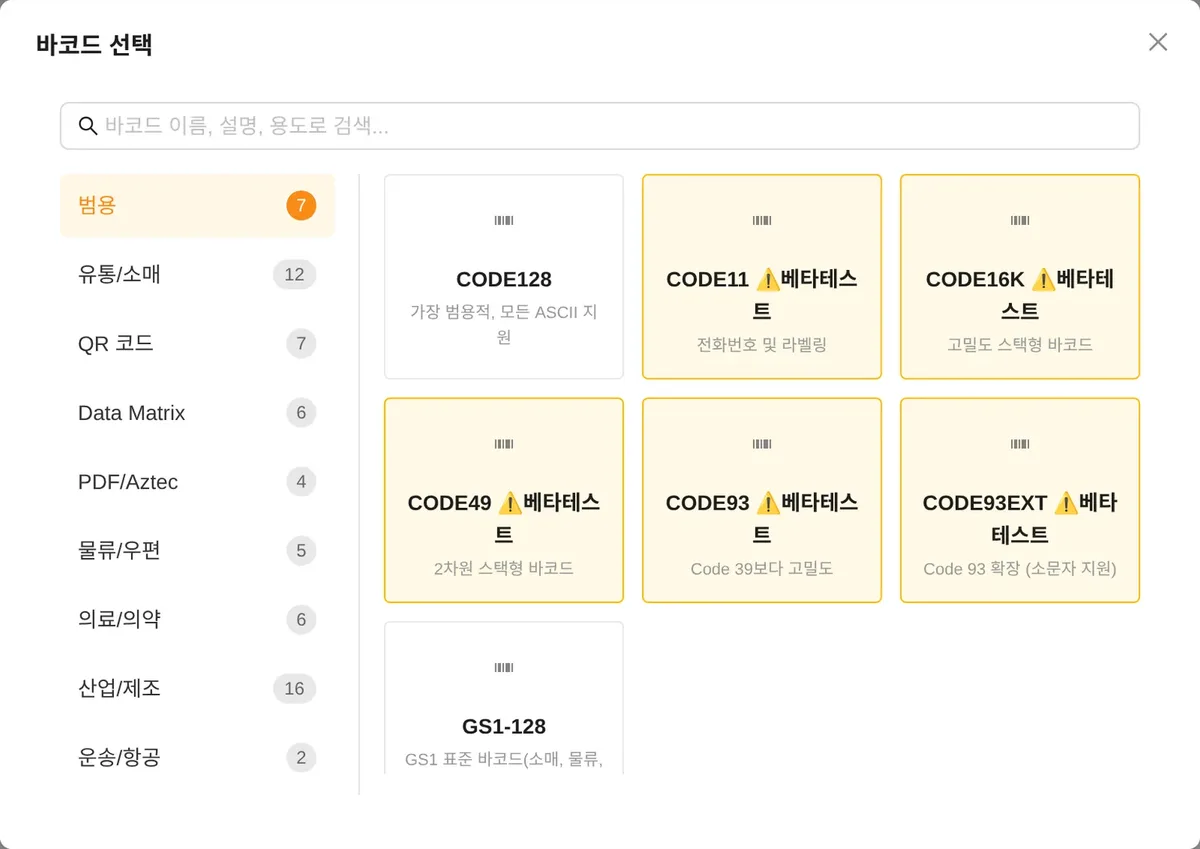
The quick picks under Barcode in the tool panel include EAN13, while the Beta category of View all barcodes… lists EAN13(NEW) and UPC separately. Both make the same EAN-13 bars, but they differ in how they handle the check digit and in how many adjustment fields they have.
| Item | EAN13 (quick pick) | EAN13(NEW) and UPC (Beta) |
|---|---|---|
| Digits entered | 13 digits (12 digits also print with a check digit added, but a warning says it must be exactly 13 digits) | EAN13(NEW) 12 or 13 digits, UPC 11 or 12 digits |
| Wrong check digit | No bars are drawn, and there's no hint of the correct digit | An error saying what the last digit should be; not corrected automatically |
| Digits under the bars | Fixed position and size, no Text tab | Position, font and size (3–144pt) adjustable on the Text tab |
| Left and right quiet zone fields | None | Advanced settings tab, EAN-13 default 11X/7X, UPC 9X/9X |
| Barcode width | From 2 dots | From 1 dot, shown as "mm · dot" |
If you're printing a number for supplying retailers for the first time, choose EAN13(NEW). If the 13th digit is wrong, it tells you the correct one right away, and if the quiet zones or bar height stray from the recommended values, the Current configuration marker next to the Advanced settings tab lets you know. The beta-test marker after the name in the list means the type is still being tested, so before using the first roll, scan about 10 labels with the scanner on site to confirm.
Check digit calculation and the 3 input handling options
The last digit of an EAN-13 is a check digit calculated from the first 12. Multiply the digits by 3, 1, 3, 1… starting from the rightmost one and add them up; the number needed to bring that sum up to a multiple of 10 is the check digit. For 952001234567, a number starting with 952, which GS1 reserves for examples, the sum is 86, so the check digit is 4 and the complete number is 9520012345674.
In the Check digit section on the Advanced settings tab of EAN13(NEW), there's a list for how the entered value is handled.
- Automatic · Calculate or validate, the default, adds the check digit when you enter 12 digits and checks it when you enter 13.
- Input without check digit · Calculate accepts only 12 digits; choose it when you're sure the number column in Excel has no check digits. Rows with 13 digits mixed in are caught as errors.
- Input with check digit · Validate accepts only 13 digits and catches even a one-digit typo in a list copied from the 13-digit numbers you were issued.
UPC applies the same calculation to 11 digits to make 12, and if you enter a 7- or 8-digit UPC-E number, it expands it to a 12-digit UPC-A and prints that. Hyphens or spaces mixed in cause an error asking for digits only, so paste numbers with only the digits left.
Bar width (X) and label width
EAN-13 and UPC-A are 113 times the bar width X across, including quiet zones. The GS1 general retail range is an X of 0.264–0.660mm, and only for on-demand printing such as direct thermal and thermal transfer may it go down to 0.249mm. The designer's Barcode width moves in printer dots, so the X you get at each resolution is one of the 5 values below or close to them.
| Resolution and barcode width | X | Width including quiet zones | Bar height recommended by the designer |
|---|---|---|---|
| 203dpi 2 dots | 0.250mm | 28.3mm | 17.33mm |
| 203dpi 3 dots (default) | 0.375mm | 42.4mm | 25.99mm |
| 300dpi 3 dots | 0.254mm | 28.7mm | 17.59mm |
| 300dpi 4 dots (default) | 0.339mm | 38.3mm | 23.45mm |
| 300dpi 5 dots | 0.423mm | 47.8mm | 29.31mm |
EAN13(NEW) starts at the dot count closest to 0.33mm, so the defaults are 3 dots at 203dpi and 4 dots at 300dpi. Reducing to 2 dots (203dpi) or 3 dots (300dpi) falls below 0.264mm, so the Current configuration notice appears, but it's still at least 0.249mm, the range allowed for thermal printing, so it's within the specification. However, GS1 requires that even when printing this small, you leave free the area of an X of 0.264mm, that is, 29.83mm wide × 18.28mm bar height, so on the Advanced settings tab increase the left quiet zone to 15X and the right quiet zone to 10X, and set the height to 18.5mm. If you enter 18.3mm, at 203dpi it rounds to 146 dots, or 18.27mm, which falls short of the minimum height. The width including quiet zones then becomes 120X, that is, 30.0mm at 203dpi 2 dots and 30.5mm at 300dpi 3 dots.
Changing the bar width leaves the bar height at 22.85mm, so fix that too. The recommended height in the table is the value the designer calculates and suggests as 22.85mm × X ÷ 0.33, and in the 2-dot (203dpi) and 3-dot (300dpi) rows, where X is below 0.264mm, that value is lower than GS1's minimum height of 18.28mm, so raise it to 18.5mm as above. EAN/UPC heights are set together with the width so the code reads with light passing in any direction, so don't cut the bars shorter than this. The digits and the guard bar extension (5X by default, about 1.9mm at 203dpi 3 dots) are added to the height separately.
Choosing the label size with room for product name and price
Once you've worked out the bar height, the label size follows. Let's fit it assuming an 8pt digit line (about 2.8mm) and 1.5mm left free at the top and bottom.
- To fit just a barcode and one line of product name on 50×30mm, 300dpi 3 dots (30.5mm wide with the enlarged quiet zones, 18.5mm bars) is the right choice. The bars, guards and digits come to about 23mm, so one 9pt line of product name fits above, and in the roughly 16mm width left on the right, the price stands at 12pt.
- 60×40mm is a size that takes 300dpi 4 dots. The 38.3mm-wide barcode adds up to about 28mm in height, so put 2 lines of product name in the 8mm at the top and the price and volume in the roughly 18mm width on the right.
- If you insist on 3 dots with a 203dpi printer, the barcode is 42.4mm wide and the bars, guards and digits are about 30.7mm tall, leaving almost no room for the product name and price on 60×40mm. On 50×30 and 60×40 labels, drop to 2 dots and set the bars to 18.5mm.
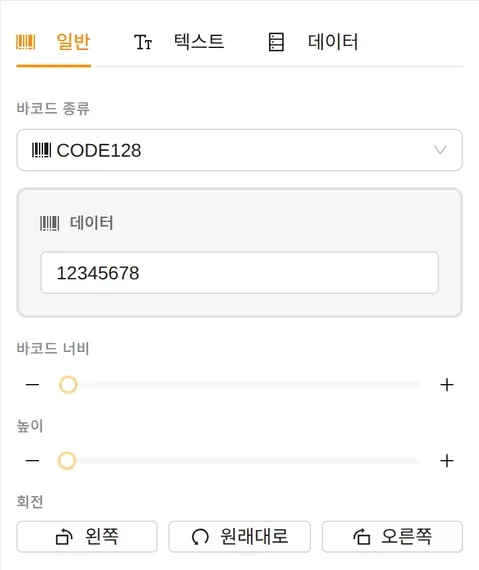
The sample bars in the product barcode shared template (50×30mm) are CODE128, so after opening the template, change Barcode type in the Properties panel to EAN13(NEW) and enter the number and the values above. The EAN13(NEW) object box includes the left and right quiet zones, so place the price text object where it doesn't overlap this box.
For direct thermal rolls, use the 50×30 and 60×40mm sizes of direct thermal roll labels, and for products that get wet, such as on refrigerated shelves, switch to YUPO direct thermal labels of the same size. The checks to run when bars come out faint or spread thick are in When a barcode won't scan.
An Excel number column for many items
To avoid making a separate label for each item, load an Excel file with 3 columns (product name, barcode number and price) through Connect data and link a column to each object. A 12-digit number starting with 0, as with UPC, comes in as 11 digits with the leading 0 dropped if the cell format is a number, and Automatic mode treats it as a number without a check digit, adds a new check digit and makes the wrong barcode. Keep the number column in text format, and change the input handling to Input with check digit · Validate so rows with too few digits show up as errors. Follow the 5 steps for linking Excel in order in Bulk printing from Excel or CSV.