
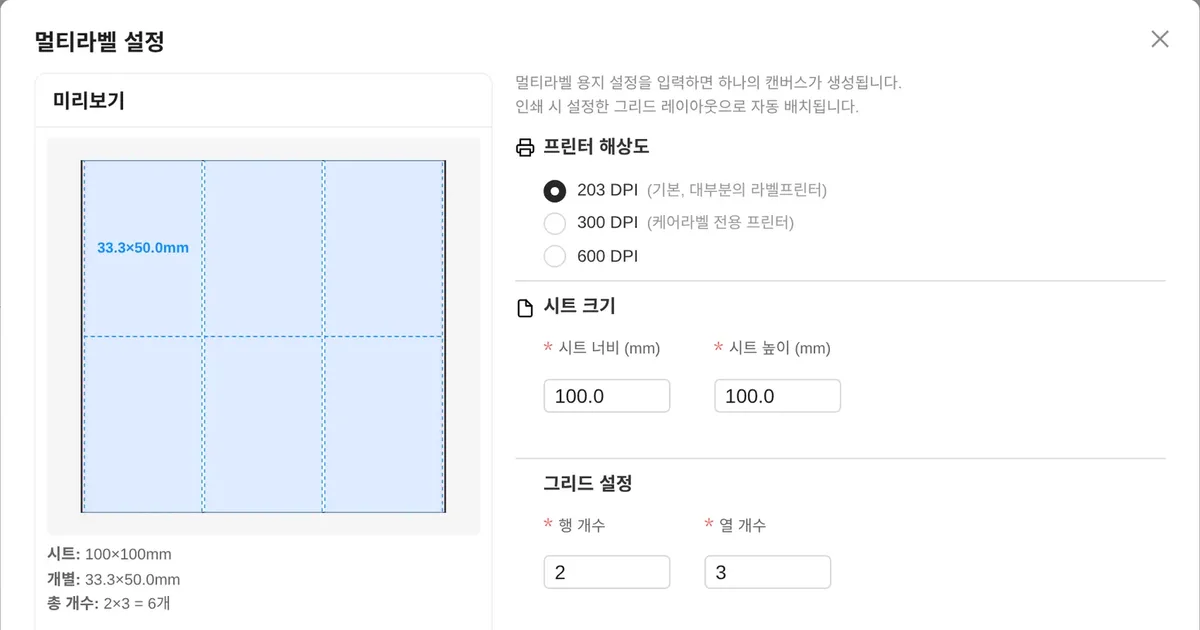
Media with 2–3 labels side by side across the roll width, or sheets with several identical cells printed on one page, are printed with GoodLabel Designer's Multi-label. You edit at the size of one cell, and at print time the designer fills that cell into a rows × columns grid. Cell positions are set by the sheet size, the row and column counts and the spacing numbers, so start by measuring your actual media to calculate those numbers.
The 6 kinds of input fields and their ranges in the Multi-label settings window
Click Multi-label at the bottom right of the ribbon's Print group to open the Multi-label settings window. The first time, it's filled with a 100×100mm sheet, 2 rows × 3 columns, 0mm spacing, 1.5mm left and right margins and 203 DPI.
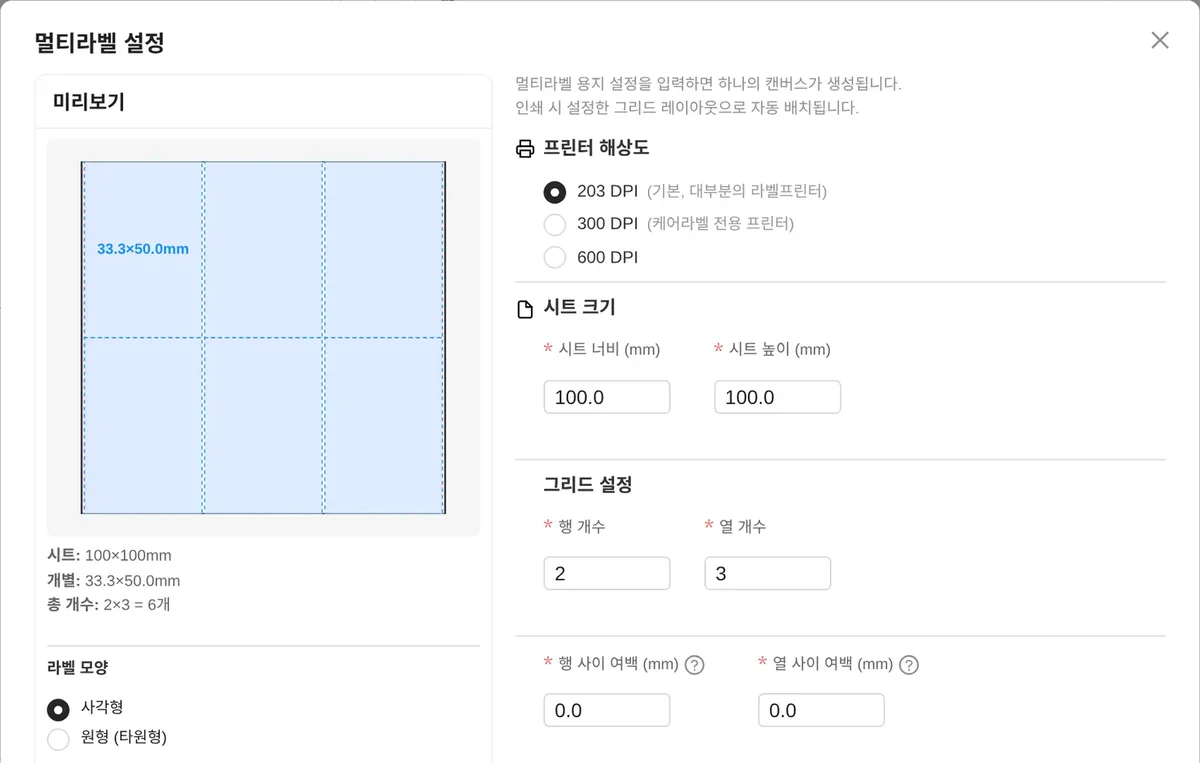
| Field | Input range | Meaning |
|---|---|---|
| Printer resolution | 203 / 300 / 600 DPI | Dot density used to make the cell images |
| Sheet width, Sheet height | 10–1000mm, in 0.1mm steps | Total area occupied by the label cells |
| Rows, Columns | 1–20 | Number of cells down and across |
| Row spacing, Column spacing | 0–50mm, in 0.1mm steps | Blank gap between cells |
| Left margin, Right margin (Advanced settings) | 0–50mm, 1.5mm by default | Width added outside the sheet on the left and right |
| Print position (vertical) and (horizontal) (Advanced settings) | −10 to 10mm, in 0.1mm steps | Fine shift of the printed position |
The designer calculates the size of one cell and shows it to 1 decimal place on the Individual: line under the preview on the left, and the Total count: line shows rows × columns. Print options in the right column always has the Print rotated 180° checkbox, and if the printer model uses ZPL, TSPL or EZPL, fields for print method, media type and gap length appear below it.
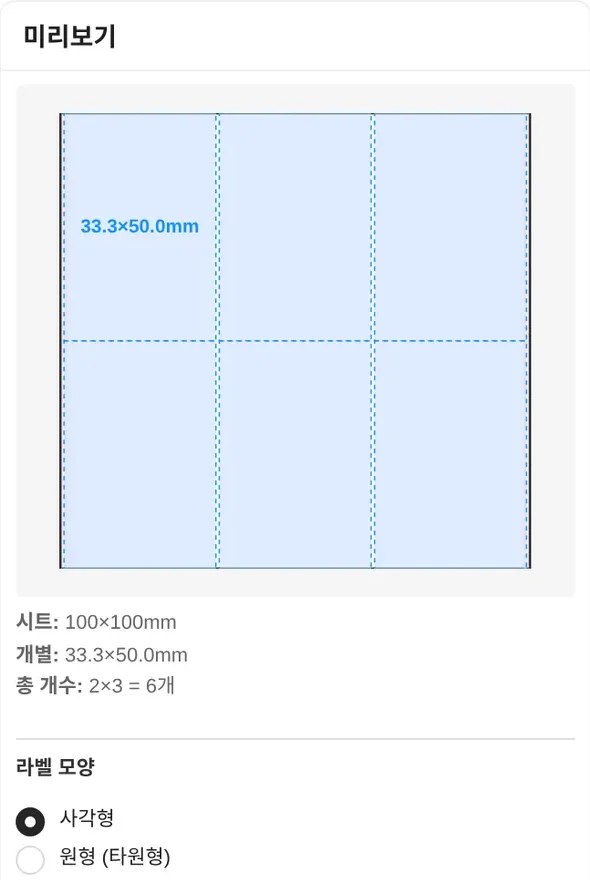
Working sheet width and height back from measured dimensions
Cell width = (sheet width − (columns − 1) × column spacing) ÷ columns. Rather than entering a rough sheet width and nudging the cell size by 0.1mm, working the sheet width back from the label width and gaps you measured with a ruler leaves less error.
- Measure the width and height of one label, the gap to the label beside it and the gap to the label below, to 0.5mm.
- Calculate sheet width = label width × columns + column gap × (columns − 1). For 3 labels 32mm wide placed 3mm apart, that's 32 × 3 + 3 × 2 = 102mm.
- Sheet height is label height × rows + row gap × (rows − 1). For 2 rows of 25mm-tall cells with a 2mm gap between rows, enter 25 × 2 + 2 = 52mm.
- After entering the numbers, if the Individual: line shows 32.0×25.0mm, the calculation is right.
The 1.5mm left and right margins, and the top and bottom
The left and right margins aren't fields that trim the inside of the sheet; they're widths of 0–50mm added on both sides outside it. With a 102mm sheet width and the default 1.5mm on each side, the page sent to the printer is 105mm wide, and the first column starts after 1.5mm on the left. Enter the distance from the left edge of the liner to the first label as the left margin and the distance from the last label to the right edge as the right margin, and the page width matches the liner width. If you enter 0 for a margin, the window's preview draws it as 1.5mm, but 0mm is used as is for printing.
There are no top or bottom margin fields. Row 1 starts at the very top of the sheet, and from row 2 on, each row prints lower by the cell height + row spacing. If your media has a blank strip at the top of the sheet, there's no way to represent that strip in the grid, so first check that the first row of your media starts at the sheet edge.
The circle (ellipse) option under Label shape only draws a circle outline on the editing screen, and printing covers the whole rectangular area of the cell. For 30mm-diameter round labels, keep text and barcodes 1–2mm inside the outline so strokes outside the circle don't print on the liner.
Cell fill order and sheet count
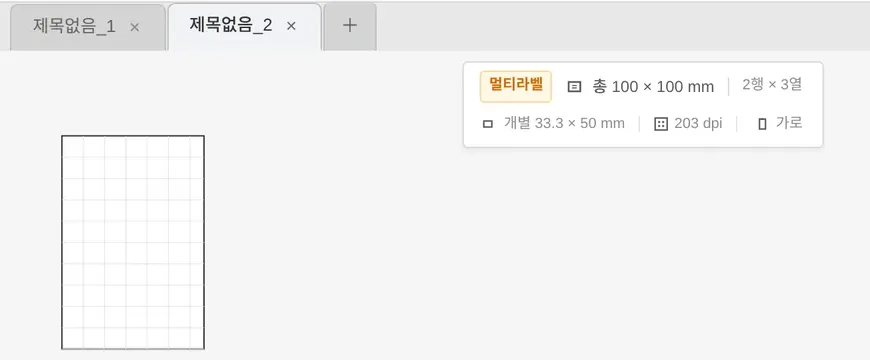
Click Create and a canvas the size of one cell opens in a new tab, and the label info bar shows a multi-label indicator, the sheet and individual sizes, and rows × columns. The one button at the bottom of the Print window also changes to a multi-label print button. Cells are filled from left to right in row 1, then row 2, and so on.
| Document content | What Copies means | Example: 2 rows × 3 columns (6 cells) |
|---|---|---|
| Fixed text and barcodes only | Number of sheets | 4 copies → 4 sheets of 6 identical cells |
| Generate serial numbers | How many cells each number is repeated in | 20 numbers × 1 copy → 20 cells, 4 sheets (only 2 cells printed on the last) |
| Excel data link | How many cells each row is repeated in (with a quantity column, that quantity per row) | 13 rows × 2 copies → 26 cells, 5 sheets (2 cells on the last) |
Leftover cells on the last sheet come out blank, so printing 20 on a 6-cell sheet leaves 4 empty cells. If you'd rather not waste them, make the number count or row count a multiple of the cell count. Multi-label tabs are unchecked in the Batch print list from the start and can't be printed with batch print, so print 2 multi-label documents separately from their 2 tabs.
5 steps to test-print the first sheet
- Draw a rectangle shape 1mm inside the cell border, with a line thickness of 3pt or more.
- Print just 1 sheet and check that each cell's rectangle sits evenly inside the label's die-cut line.
- If every cell is shifted in the same direction, move the vertical and horizontal print position in Advanced settings in 0.1mm steps.
- If column 1 lines up but the shift grows toward column 3, it's not the position but the column spacing or sheet width that's wrong, so go back to your measurements and recalculate.
- When the rectangle sits evenly 1mm inside in every cell, delete the rectangle and add the real content.
To change the settings again, click Printer settings in the label info bar or the ribbon to open the same window in edit mode (its button reads Settings), change the 6 row, column and spacing fields, and print another test sheet. Screenshots are in the Multi-label chapter. When printing 2- or 3-across rolls on a label printer, treat one sheet as one label and enter media type and gap length according to the settings table in the label size measuring article.