
Labels where only the number goes up by 1, like 0001 and 0002, are printed with Generate serial numbers in GoodLabel Designer, without an Excel file. The effort goes less into the first print than into what comes after. If you labeled up to 0500 yesterday, today you need to continue from 0501; the 4 labels 0137–0140 that jammed in the printer and got crumpled have to be reprinted separately; and you need to settle the number of digits before a five-digit number comes after 9999. The field names on the 2 tabs of the settings window and the quantity calculation in the Print window are in the second half of the Excel and CSV variable label article, so here we cover only how to continue numbers and roll them back.
The digits field to choose before the first number
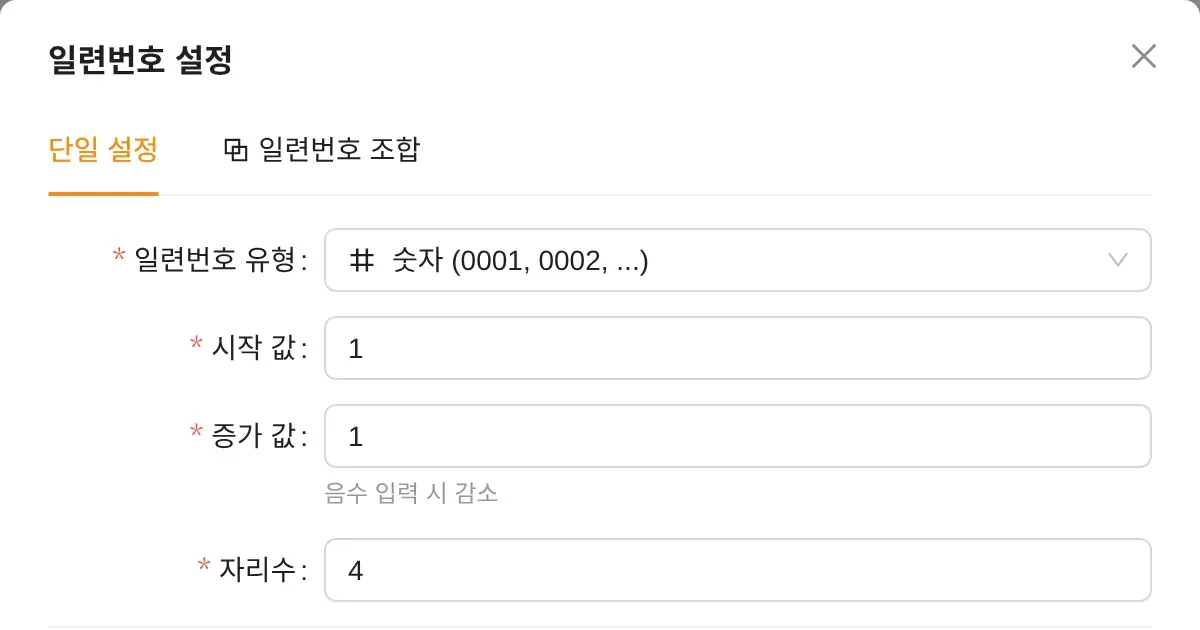
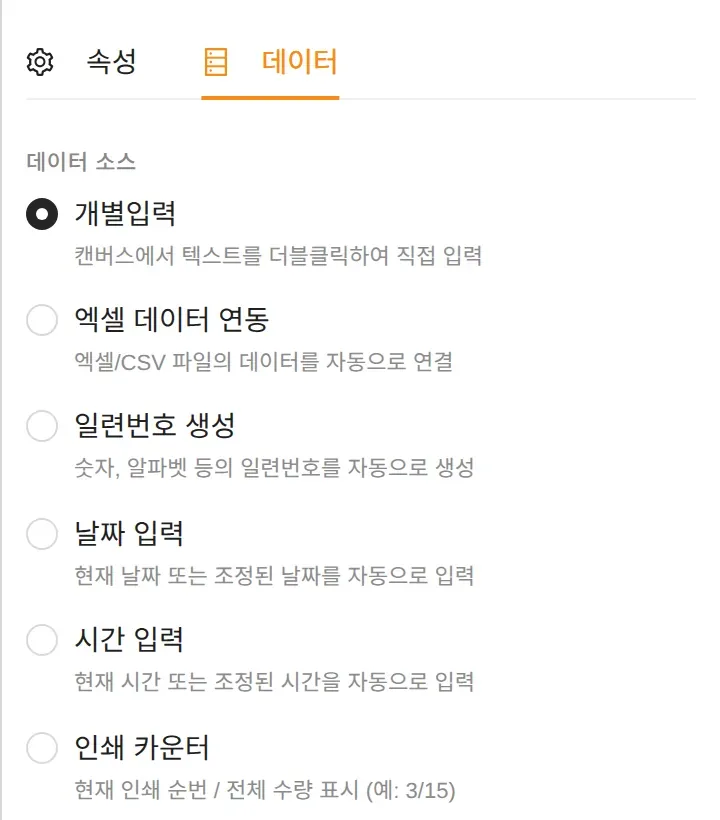
Select one text or barcode object and choose Generate serial numbers under the data source on the Data tab of the Properties panel, and the settings window opens. The first time, it's filled with a start value of 1, an increment of 1 and 4 digits, so applying it as is makes the first label 0001.
- Choose between 1 and 10 digits; the front is padded with 0 only when the number is shorter than that.
- When a 4-digit document goes past 9999, the next label prints as 10000. The designer doesn't cut off the overflowing digit, so if the text field is narrow the number spills out to the side, and 1D barcodes such as Code 128 get longer overall.
- If you're likely to use more than 10,000 numbers in a year, start with 5 digits from the beginning. Changing from 4 to 5 digits midway makes the number format differ from the 0001–9999 labels already in place.
- Enter -1 as the increment and the numbers count down; below 0 they come out with a minus sign, like -0001.
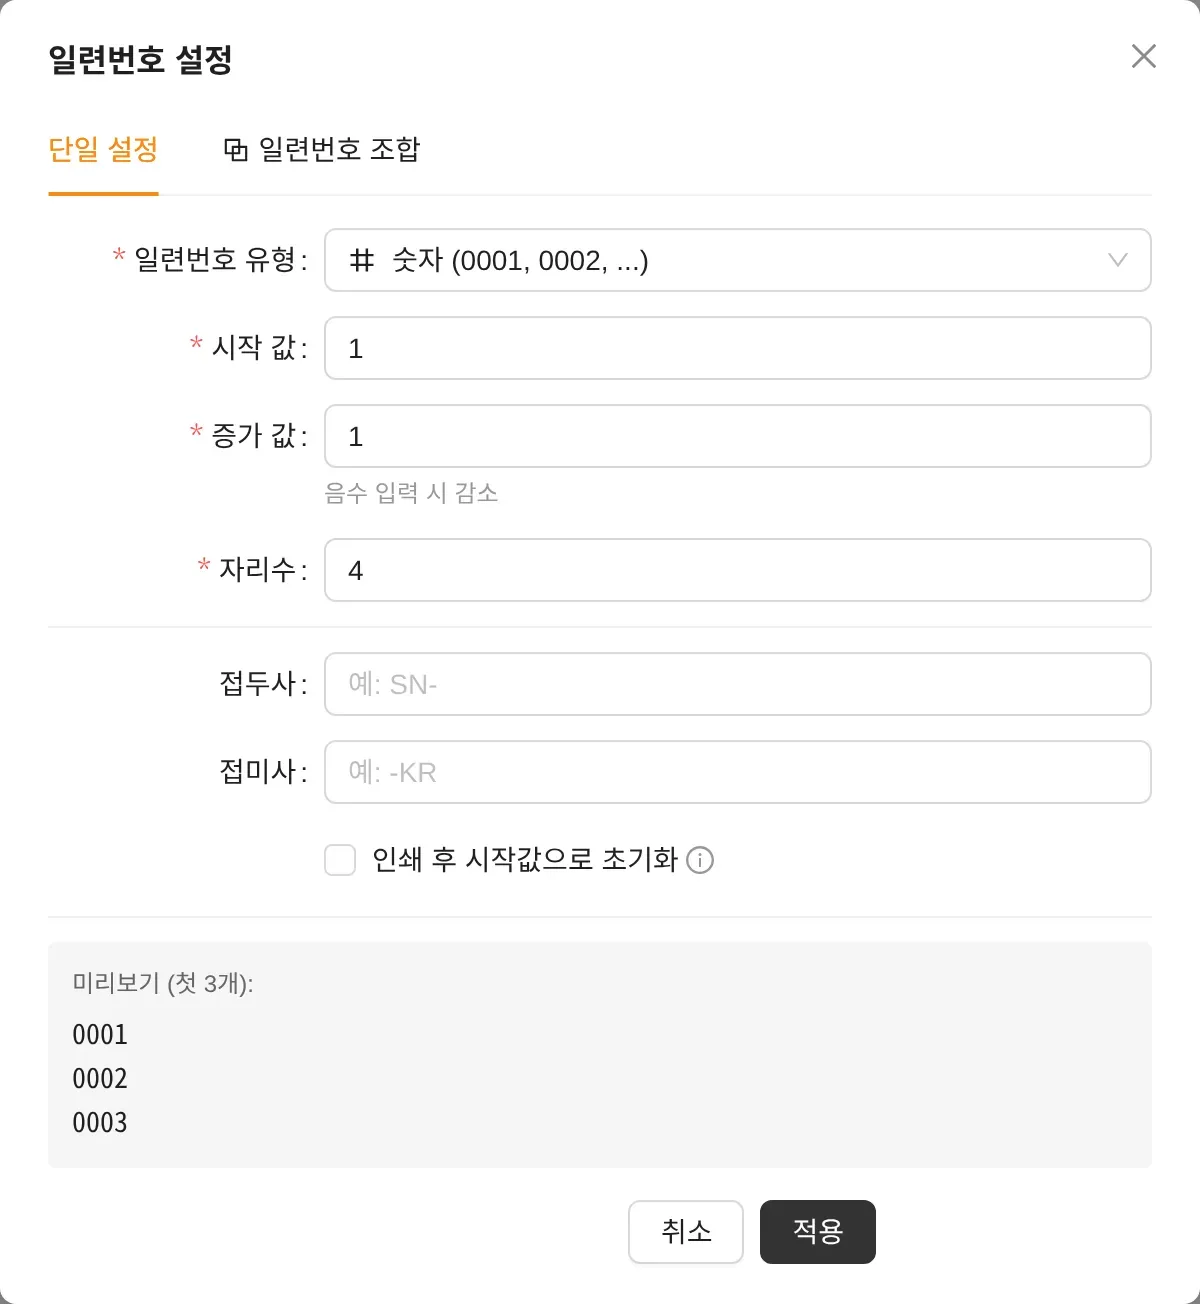
The Preview (first 3): field at the bottom of the window doesn't update right away as you type numbers. Check the number format after clicking Apply by seeing whether the object on the canvas shows it with the prefix attached, like SN-0001.
When the next number is kept
When printing finishes, the serial number object on the canvas shows the next number in line. Whether that number survives until tomorrow depends on whether you saved the document as a file.
| Document state | Next number after printing | Next time |
|---|---|---|
| Document saved as a .glb file | Written automatically to the same file after the print job is sent | Prints from that number when you open the file |
| New document never saved | Kept only while the tab is open | Save before closing the tab; if it's already closed, enter the next number as the start value |
| Document with Reset to start after printing turned on | Not recorded; returns to the start value | Use it when printing the same batch of numbers (e.g., 01–20) every time |
If you need to continue the same number sequence alternately on 2 PCs, move one .glb file between them and open it. If you have to create a new file, enter the next number (e.g., 501) as the start value and match the digits and prefix exactly to the original file.
Number resets when you click Settings
The Serial number settings section on the Data tab summarizes the type, start, increment and digits, with a Settings button below it. The window this button opens holds the start value you first set, and clicking just Apply without changing anything returns the next number to that start value. This is how a document that was due for 0501 ends up printing from 0001 again after you fix one character of the prefix.
- Before opening the settings window, note the next number shown on the canvas.
- After changing the prefix or suffix, replace the start value with the number you noted.
- After applying, check that the number on the canvas comes out as the one you noted.
Reprinting a crumpled range of numbers
If the 4 labels 0137–0140 jammed and became unusable and the next number in line is 0501, the 3 steps below take care of it.
- Write down the next number shown on the canvas, 0501.
- In Settings, change the start value to 137 and apply, then print 4 labels with Print quantity set to 4 and Copies set to 1 in the Print window.
- Open Settings again, apply a start value of 501 and save the file.
If you skip step 3, the next job starts from 0141, creating a second set of 0141–0500, which are already in use. After reprinting, check once more that the canvas shows 0501, and set the 4 left in Print quantity in the Print window back to the original quantity.
2 labels with the same number and box sequence marks
Set Copies to 2 and the same number comes out twice in a row: 0001, 0001, 0002, 0002. This is the right method when you attach the same number to the product and its outer box.
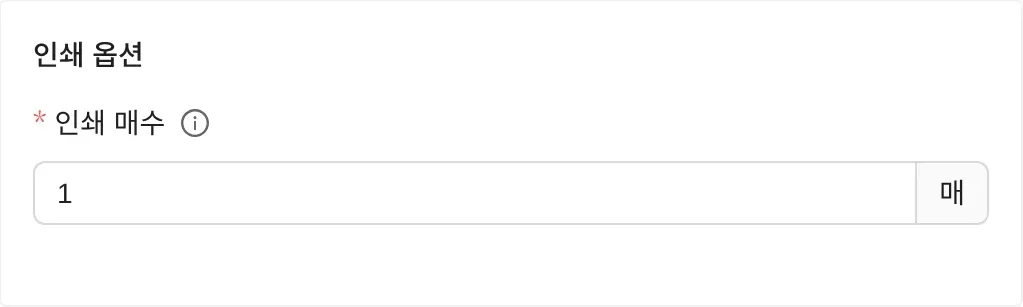
Print counter in the text data source runs separately from serial numbers and prints the current position and the total quantity, like 3/15. The total is Print quantity × Copies, so printing 20 numbers with 2 copies each goes up by 1 per label from 1/40 to 40/40. To put 1/20 to 20/20 on 20 boxes, print the label with the counter separately with 1 copy.
Composed serial numbers that join a date and a number
The Compose serial number tab in the settings window joins Numeric sequence, Alphabetic sequence, Date, time (labeled Hours on screen) and Fixed text blocks. Set it up as Date (YYYYMMDD) + Fixed text "-" + a numeric sequence (3 digits), and you get a lot number like 20261002-001. Know the following 3 behaviors before you start.
- Numeric and alphabetic blocks go up by 1 together on each label. Starting with A and 0001 gives A0001, B0002, C0003, so this tab can't make numbers that move on to B only after 0001–9999 are used up.
- The date block is fixed to the date at the moment printing starts. A single job that runs past midnight prints the same date to the end, and the numeric block doesn't go back to 1 because the date changed.
- The next number of a composed serial number isn't recorded in the .glb file. If you reopen the file with the program still running, it continues, but if you restart the program or reapply the block settings, it prints from the blocks' start values. For a lot that starts from 001 each day, apply the block settings once before the first print of the day to set it to 001, and make numbers that must continue over several days with the numeric type on the Simple settings tab plus a prefix.
Choose the formats and adjustment fields for date and time blocks from the same lists shown in the screenshots of the Text chapter.