
A warehouse location label goes on each bin of a shelf or rack and shows a single location number both in large text and as a barcode. Workers find the bin by the text from the aisle and scan the barcode to confirm the location when picking or receiving. When you make these labels in GoodLabel Designer, you decide 4 things: the numbering scheme, barcode length and bar width, text size, and material.
Location numbering and barcode length
Write the number in 4 levels, zone-rack-level-bin, starting from the largest unit, and fix the number of digits for each level. Zone A, rack 1, level 3, bin 2 is written A-01-03-2, and if there may be more than 10 racks, use 2 digits such as 01 and 02 from the start. With fixed digit counts, rack 10 doesn't slip in right after rack 1 when you sort in Excel.
Even for the same location, whether you include hyphens makes a big difference in CODE128 barcode length. When 4 or more digits run in a row, CODE128 packs 2 digits into one bar character (11 modules), but hyphens that break the digits into pairs keep this compression from happening.
| What the barcode holds | Length including 10X quiet zones | 0.375mm bars | 0.5mm bars |
|---|---|---|---|
| A-01-03-2 (9 characters with hyphens) | 154X | 57.8mm | 77.0mm |
| A010302 (1 letter + 6 digits) | 110X | 41.3mm | 55.0mm |
| 01030201 (8 digits) | 99X | 37.1mm | 49.5mm |
So a setup with hyphens in the large human-readable text and A010302, without hyphens, in the barcode fits well on a 100mm-wide label. If your warehouse management program looks up locations by the hyphenated number, the barcode has to follow that format too, so first check with a single label that the scanned result matches the program's search box as is.
Bar width for the reading distance
Bar width sets how far away a scanner can read. Decode ranges for the Zebra DS3678 series measured with 20mil (0.508mm) Code 39 bars are 7.1–71.0cm for the standard range SR and 5.1–551.2cm for the extended range XR, and the XR's range shrinks in dim surroundings.
- In a warehouse where you scan bins within reach from 30cm or closer, use around 0.375mm (3 dots at 203dpi). The SR reads even 0.127mm (5mil) Code 128 up to 17.0cm, so at close range print quality matters more than bar width for readability.
- If you scan racks 2 levels up from the floor, thicken the bars to 6 dots at 300dpi (0.508mm) or 4 dots at 203dpi (0.500mm) to match 20mil, and use a long-range scanner such as the DS3678 XR.
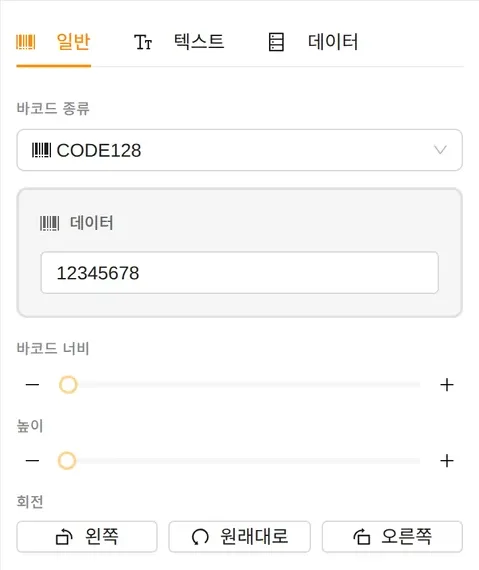
CODE128 bars get 1 dot thicker at a time with Barcode width in the Properties panel, and new ones start at 2 dots at 203dpi and 3 dots at 300dpi, so raise them to the values above yourself. Make the bar Height as tall as the label allows, between 5 and 100mm; the taller the bars, the more likely the scanner beam crosses the whole symbol even at an angle. Keep text and borders out of the 10X on each side of the barcode (5mm with 0.5mm bars).
Large text that reads from a distance
A text object's Size ranges from 1 to 200pt, and since 1pt is about 0.353mm, 72pt is a 25.4mm-tall text box and 200pt is 70.6mm. The actual digit strokes print shorter than the box, so on a 100×50mm label, write the number at around 72pt in the top 27mm and put the barcode below. Enlarging the text widens the object box automatically, so if a 9-character number runs past the 100mm width, click Narrow text in the ribbon's Paragraph group to narrow only the character width (0.1 per click, down to 0.7×).
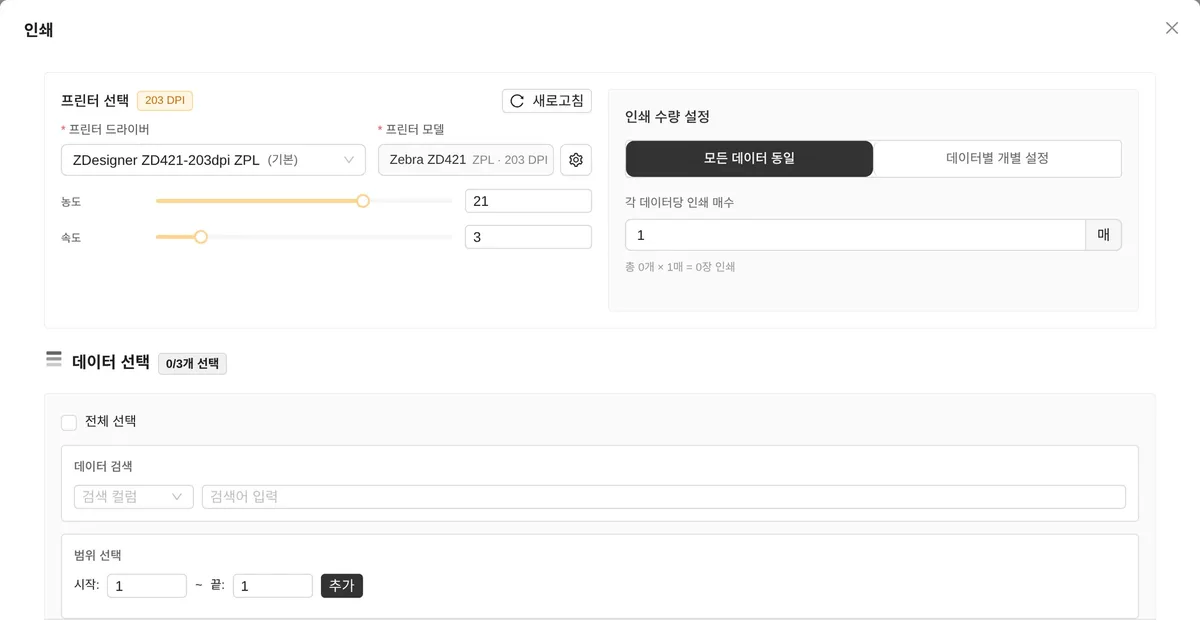
Bold (Ctrl+B) under Text style in the Properties panel thickens the strokes of 72pt digits, and Invert prints white text in a black box so zone letters A and B stand out from the number. Raising the density fills in the white strokes, though, so print one label first at the default density (ZPL 21, TSPL 11, EZPL 13).
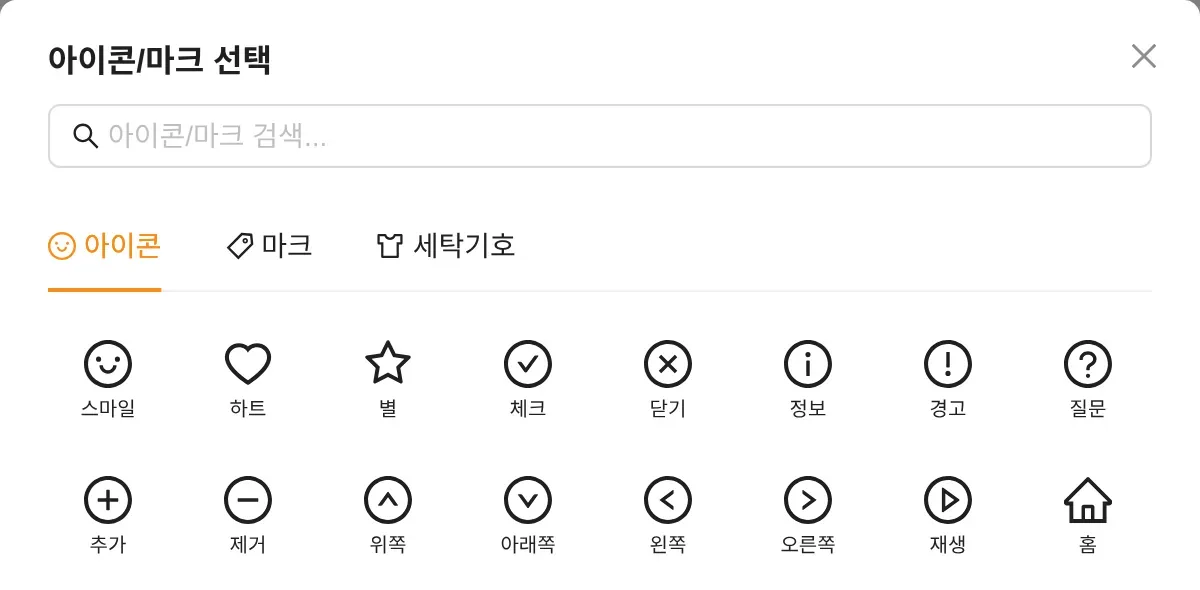
To mark the bin above or below, take the up and down arrows from the Icons tab of Icons/marks in the tool panel and place them next to the number. In warehouses where labels for the upper and lower bins sit side by side on one rack beam, this cuts down on workers picking from the wrong level.
Printing the whole location list from Excel
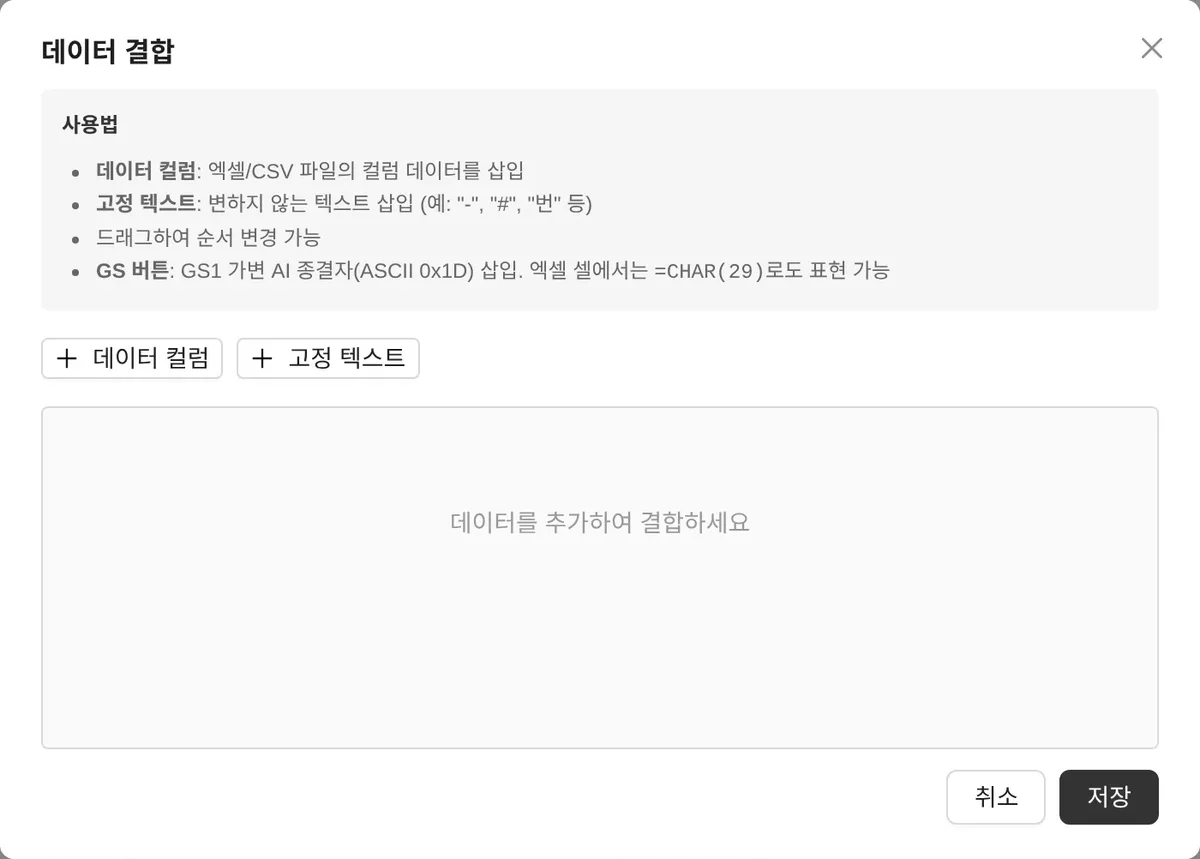
Enter zone, rack, level and bin in 4 separate Excel columns, and with Combine data under the designer's Connect data, join them as zone + "-" + rack + "-" + level + "-" + bin for the large text and with no separator for the barcode. For values starting with 0, such as 01 and 03, set the cell format to text so the leading 0 is kept. If you sort the Excel sheet in rack order, the labels come out in the order you apply them, so you can stick them on in one pass down the aisle.
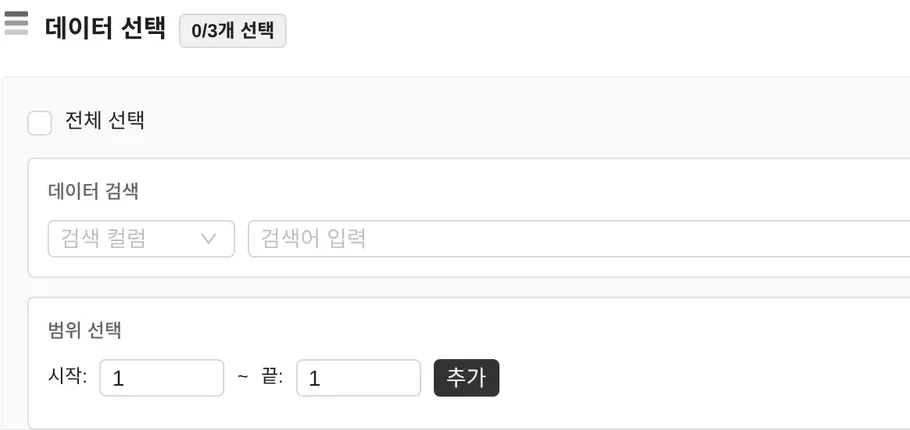
If you've installed just one new rack, in Search data in the Print window set the search column to rack and the search term to its number, then tick the select-all checkbox, which selects all search results, to print only that rack's bins. Prepare the Excel file following the 5 rules in Bulk printing from Excel or CSV.
Material for labels rubbed by forklifts and boxes
A location label has to stay in place until the rack is taken down. A direct thermal print surface keeps reacting to fluorescent light, sunlight and heat, darkening until the text can't be read, so make labels that must last for years by thermal transfer, printed with a ribbon.
| Site | Label and ribbon |
|---|---|
| Shelf fronts and rack beams brushed by boxes | YUPO labels 100×80mm + wax/resin ribbon 100mm |
| Floor zone markers that get washed, bins splashed with cleaning agents | YUPO labels + resin ribbon |
| Temporary storage zones replaced after a few months | direct thermal roll labels 100×50mm |
Wax/resin ribbon is a grade that withstands moderate to heavy abrasion and chemicals on matte synthetic materials, so on shelves brushed by box corners, use wax/resin or higher. YUPO labels 100×80mm also come as a set of 5 label rolls + 1 roll of 100mm ribbon, and how to set the print method in Printer settings to thermal transfer is in designer print method settings.