
Honeywell · Label printers
Honeywell PX4ie label printer
The PX4ie is Honeywell's 4-inch industrial printer, ordered in 203, 300 or 406dpi with a USB, RS232 or Ethernet connection. GoodLabel Designer prints to it as the ZPL entry PX4ie, so set the printer command language to ZSim (or Autosense) and use a 203dpi or 300dpi printer.
- Print method
- Thermal transfer and direct thermal
- Resolution
- 203dpi (8 dots/mm), 300dpi (11.8 dots/mm), 406dpi (16 dots/mm)
- Print speed
- 203 · 300dpi 100–300mm/s (4–12ips), 406dpi 100–250mm/s (4–10ips)
- Max print width
- 112mm (direct thermal), 110mm (thermal transfer)
- Max label length
- 4095mm (203dpi), 2775mm (300dpi), 1016mm (406dpi)
- Media width and thickness
- 25.4–120mm, 2.4–10.0mil
Specifications
| Print method | Thermal transfer and direct thermal |
|---|---|
| Resolution | 203dpi (8 dots/mm), 300dpi (11.8 dots/mm), 406dpi (16 dots/mm) |
| Print speed | 203 · 300dpi 100–300mm/s (4–12ips), 406dpi 100–250mm/s (4–10ips) |
| Max print width | 112mm (direct thermal), 110mm (thermal transfer) |
| Max label length | 4095mm (203dpi), 2775mm (300dpi), 1016mm (406dpi) |
| Media width and thickness | 25.4–120mm, 2.4–10.0mil |
| Media sensing | Gap, notch, black mark, continuous |
| Media roll | Max outer diameter 213mm, cores 38–76mm, roll or fanfold |
| Ribbon | Max roll diameter 80mm (about 450m), core 25.4mm, wax · wax/resin · resin, ink side in and out |
| Command languages | Fingerprint, Direct Protocol, IPL, ZSim2 (ZPL-II), DPL, Autosense |
| Interfaces | Standard: Ethernet 10/100Mbps, RS-232, USB 2.0 |
| Sold variants | 203dpi · 300dpi · 406dpi × USB · RS232 (serial) · Ethernet |
| GoodLabel Designer model | PX4ie (ZPL, 203 · 300 · 600 DPI buttons) |
| Dimensions and weight | 482×238×275mm, 12.61kg |
To use the PX4ie with GoodLabel Designer, set the printer command language to ZSim before the first label. This is because the PX4ie is registered as a ZPL printer in the Designer list; it is ordered as a combination of 203, 300 or 406dpi resolution and USB, RS232 or Ethernet connection. Print width is up to 112mm for direct thermal and 110mm for thermal transfer.
Resolution variants and Designer resolution buttons
| Sold resolution | Dot density | Max speed | Printer max label length | Designer PX4ie button |
|---|---|---|---|---|
| 203dpi | 8 dots/mm | 300mm/s (12ips) | 4095mm | 203 DPI |
| 300dpi | 11.8 dots/mm | 300mm/s (12ips) | 2775mm | 300 DPI |
| 406dpi | 16 dots/mm | 250mm/s (10ips) | 1016mm | None |
The Designer's PX4ie entry has only 203, 300 and 600 DPI buttons and no 406 DPI button. So for a printer that will print from the Designer, choose the 203dpi or 300dpi variant. There are three connection variants, USB, RS232 (serial) and Ethernet; the Designer prints by selecting a printer installed in Windows, so whichever you choose, first create a Windows printer with the Honeywell driver.
The printer can print labels over 4m long at 203dpi, but the height input range in the Designer Printer settings panel is 5–1000mm. Single labels longer than 1m are not made in the Designer.
Why the command language is set to ZSim
The PX4ie accepts five languages: Fingerprint, Direct Protocol, IPL, ZSim (ZPL simulator) and DPL. When printing to the PX4ie, the Designer does not pass an image to the driver but sends ZPL commands directly as RAW, so labels come out only when the printer is interpreting ZPL.
There are two choices on the printer side. Fix Command Language to ZSim, or set it to Autosense, which identifies the language of incoming data for each label. Autosense distinguishes DP, ZSim and DPL automatically. However, when only one language comes in, fixing that language makes command interpretation more accurate, so for a PX4ie that prints only from the Designer, fixing it to ZSim is the right choice.
In the printer's main menu, go to Settings, System Settings, General, change Command Language, save, and turn the power off and on. If connected by Ethernet, change the same item on the printer web page under the Configure tab, System Settings, General, and reboot.
Designer printer settings and the ZPL sent to the PX4ie
In the Printer settings window, select the printer (driver), Printer model PX4ie, and Printer resolution 203 DPI or 300 DPI in that order. If the Windows printer name includes PX4ie together with a resolution such as 203dpi, both fields are filled in automatically; if the name includes 406dpi, only the model is picked up and the resolution is left empty.
- Each label opens with ^XA and gets ^XB, which prevents backfeed, except the last label (including single-label jobs), where ^XB is left out. Commands sent only with the first label are ~TA (when Tear-off position in Advanced settings is used) and the print method, media type, density, speed, width and length commands.
- If Print method is Direct thermal, ^MTD is added; if Thermal transfer, ^MTT. If you choose "Printer settings", this command is left out and the printer prints with its stored method.
- Media type is sent as ^MNY for Gap labels, ^MNM for Black mark and ^MNN for Continuous media. The mm value entered in the Gap length field is not used anywhere in the commands sent to the PX4ie.
- Density is sent as ~SD (0–30, default 21) and speed as ^PR (1–14, default 3), followed by the label width ^PW and length ^LL.
- ^PW is the width in mm multiplied by the resolution, divided by 25.4 and rounded up to whole dots, then rounded up again to a multiple of 8 dots. For a 100mm width, that is ^PW800 at 203dpi; at 300dpi it is 1182 dots, which rounds up to ^PW1184.
- The label image goes as a single ^GFB bitmap after ^FO0,0, and when printing several copies of the same label, the count is added with ^PQ and closed with ^XZ.
The field names in the Print window and the Printer settings screen are shown with screenshots in the guide's Printing chapter.
Printer steps before the first label
After loading the roll and ribbon, hold down the Print/Feed button in the ready state to run media sensor calibration. This Smart Calibration determines gap, black mark or continuous media, whether a ribbon is used, and the label length in one pass, and by default it also runs at power-on and when the printhead is lowered.
After calibration, print a test label from Tools, Test Labels in the main menu to check the media and ribbon path. Then print one actual layout from the Designer to check position and darkness.
Both ink-side-in and ink-side-out ribbon rolls can be loaded. Roll diameter is up to 80mm (about 450m), and the core inner diameter is 25.4mm.
Compatible with GoodLabel Designer
You can design and print labels for this model with GoodLabel Designer, our free label software. GoodLabel Designer · User Guide
FAQ
- Can the 406dpi variant print from GoodLabel Designer?
- The Designer's PX4ie entry has only 203, 300 and 600 DPI buttons, so you cannot select a resolution that matches a 406dpi printer. If the printer will print labels from the Designer, order the 203dpi or 300dpi variant.
- What setting should I check first when prints sent from the Designer are not processed by the printer?
- The printer's Command Language. The Designer sends ZPL commands as RAW to the PX4ie, so it must be ZSim or Autosense; if it is fixed to Fingerprint, IPL or DP, change it in the main menu under Settings, System Settings, General and then turn the power off and on.
- How can I tell whether my ribbon is ink side in or ink side out?
- Hold the ribbon against paper and scratch it with something pointed such as a pen tip. If a mark is left on the paper, the roll is wound ink side out. The PX4ie takes rolls wound either way.
- Which of the USB, RS232 and Ethernet variants is easiest to use with the Designer?
- The Designer prints by selecting a printer installed in Windows, so any connection that lets you create a Windows printer with the Honeywell driver works. The Designer's own serial printing feature is not available in the current release, and when several office PCs send to the same printer, the Ethernet variant is convenient.
Drivers & manuals
How to buy
- In Korea, this product is sold through our Korean online store. Korean product page →
- Outside Korea, contact us by email. Email: Contact →
- Or buy from an authorized dealer in your country.
Other models in this category
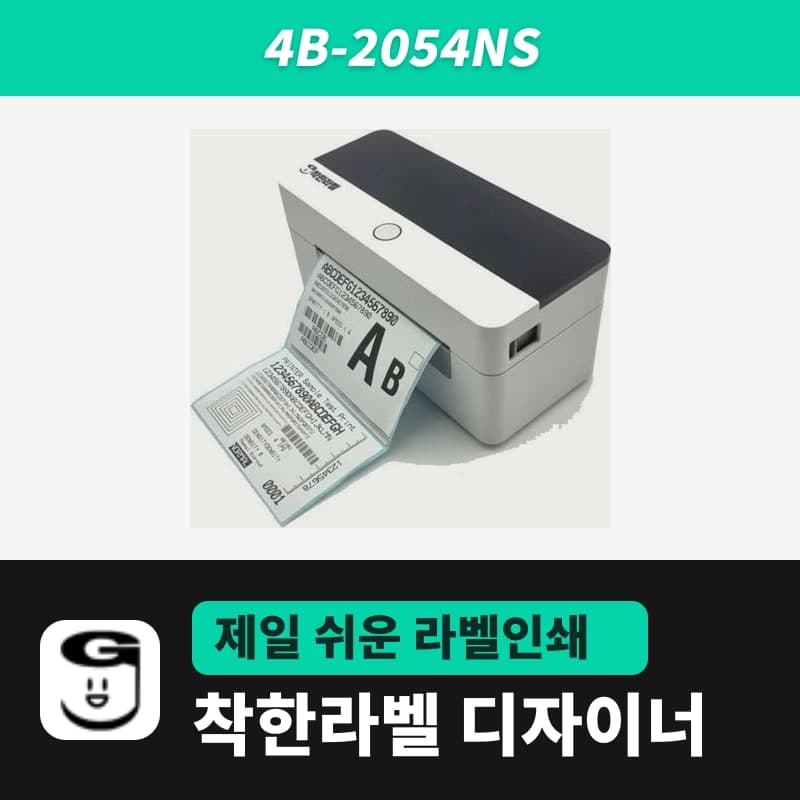 Good LabelGoodLabel 4B-2054NS direct thermal label printerThe GoodLabel 4B-2054NS is a direct thermal only 4-inch printer driven by GoodLabel Designer in TSPL; the Gap length field value goes into the GAP command as is. GoodLabel 4B-2054NS, W-4B-2054NS and Xprinter 4B-2054N in the model list are all TSPL at 203 dpi, so each sends the same commands.
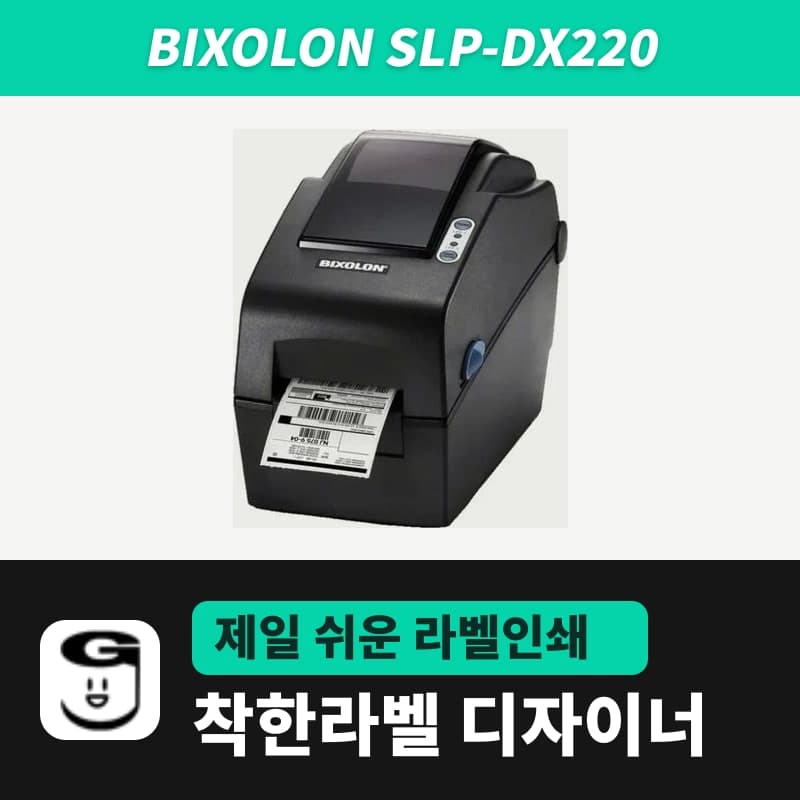 BixolonBixolon SLP-DX220 label printerThe SLP-DX220 is a Bixolon 2-inch direct thermal printer, 54mm print width, 203dpi, up to 6ips, rolls 15–60mm wide. Select SLP-DX220 (ZPL, 203dpi) in the GoodLabel Designer model list, and the Troubleshoot window skips the print method step and guides only saving the label type and Detect media.
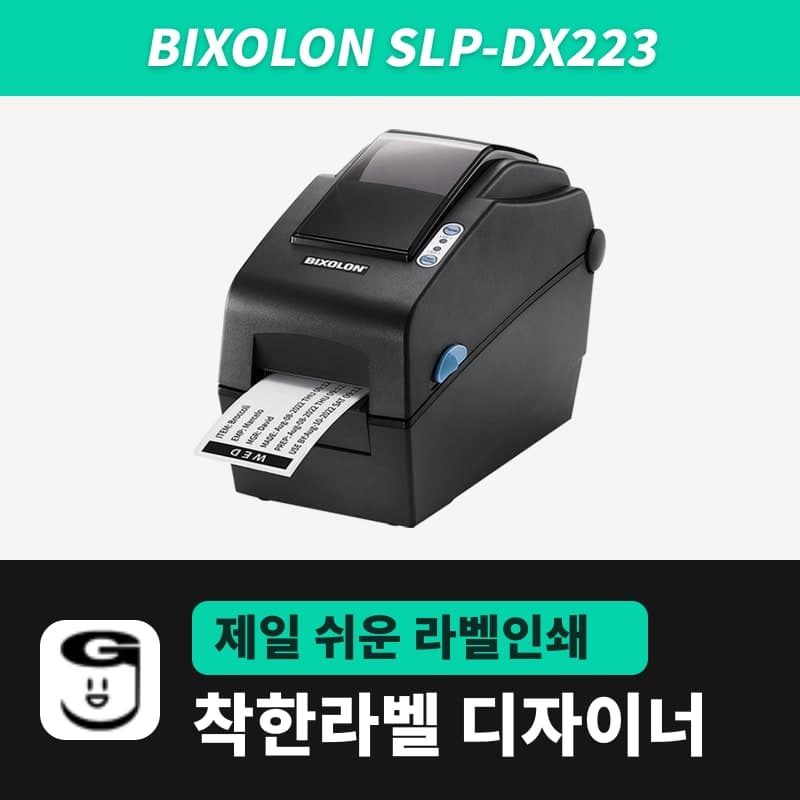 BixolonBixolon SLP-DX223 label printerA 2-inch direct thermal printer for dense text and QR codes on small labels 10–20mm tall, using the SLP-DX220 body with a head of about 11.8 dots per mm (print width 56.9mm, max 4ips). In the Designer model list it appears under its sales name, SLP-DX223, with a single ZPL, 300dpi setting.
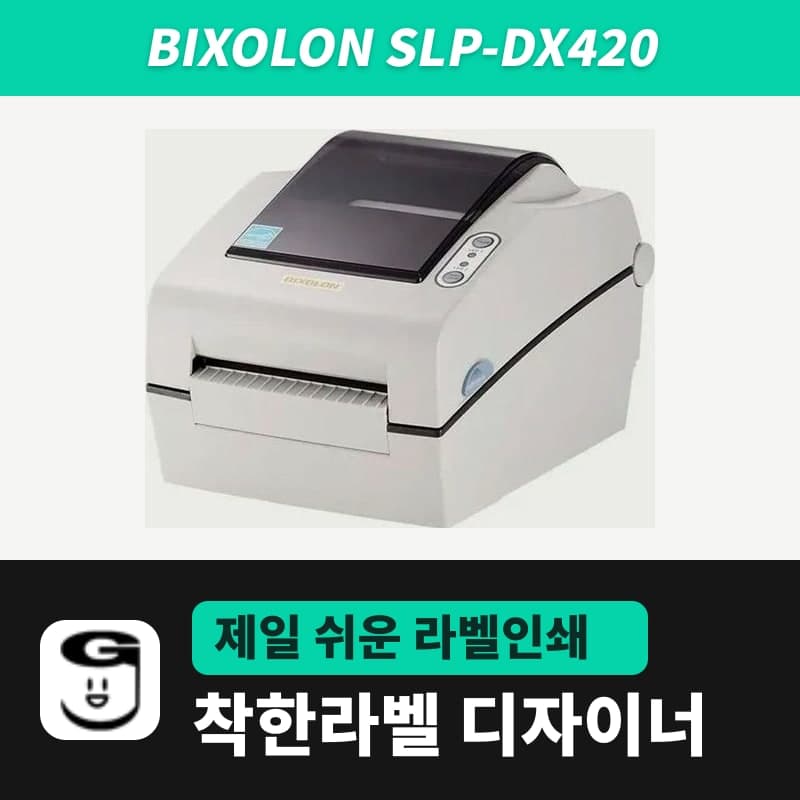 BixolonBixolon SLP-DX420 label printerThe SLP-DX420 is a Bixolon 4-inch direct thermal only printer, 108mm wide at 203dpi and up to 7ips, suited to printing many thermal labels such as 100×150mm shipping labels. In GoodLabel Designer, select SLP-DX420 (ZPL, 203dpi); copies of the same label go as one ^PQ quantity command.
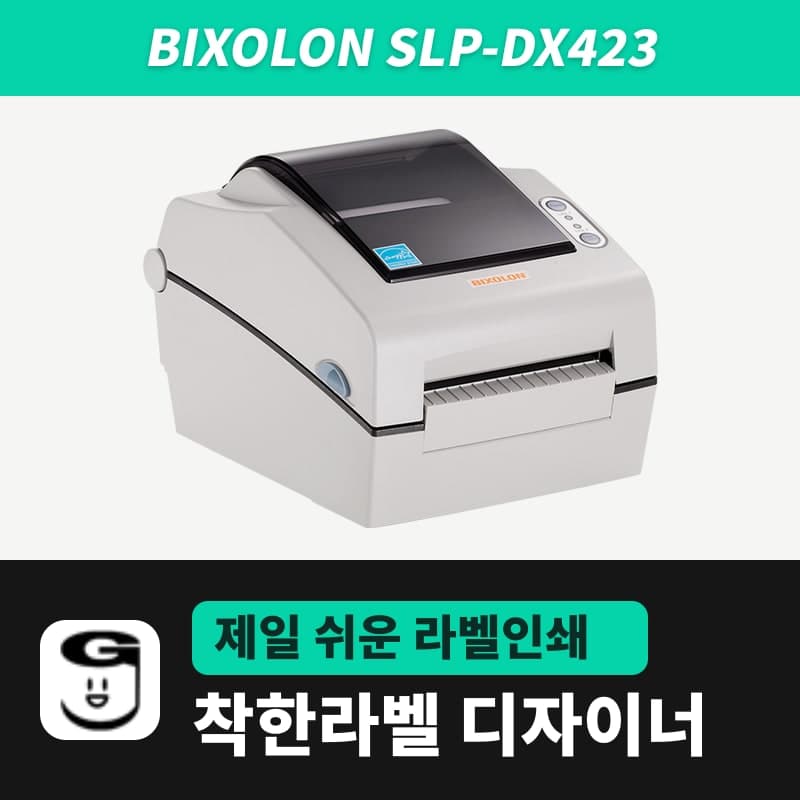 BixolonBixolon SLP-DX423 label printerFor the SLP-DX423, you must select the SLP-DX423 (ZPL, 300dpi) entry in GoodLabel Designer; if you send to the 203dpi SLP-DX420 entry, labels come out shrunk to about 68% of their size. The printer is a Bixolon 4-inch direct thermal only model with a 105.7mm print width and a max speed of 5ips.
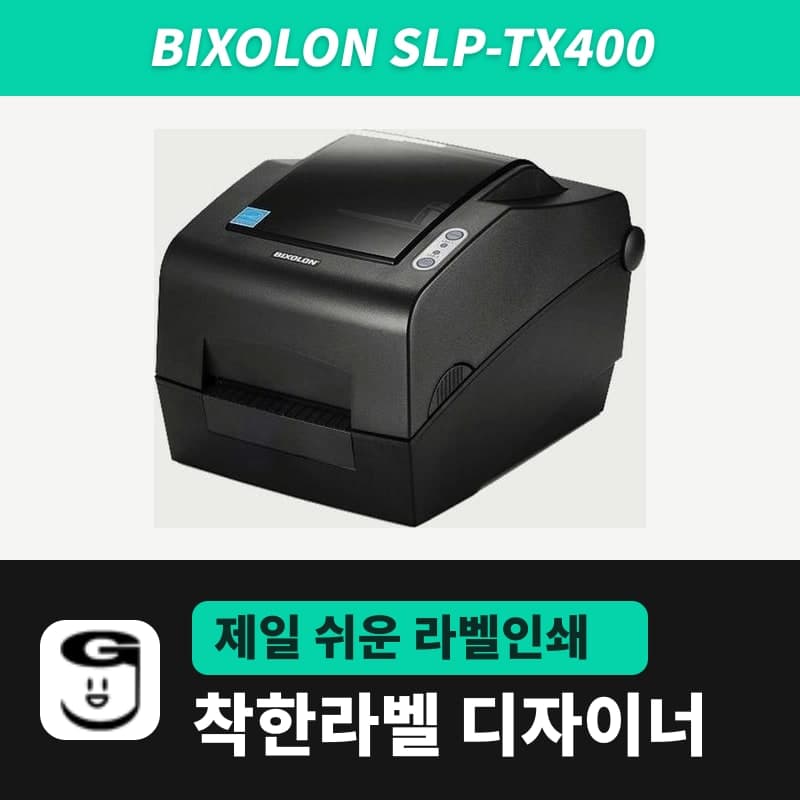 BixolonBixolon SLP-TX400 label printerIn the GoodLabel Designer Troubleshoot window, the print method step (thermal transfer or direct thermal) appears only when the Printer model field shows SLP-TX400. It is a Bixolon 4-inch thermal transfer and direct thermal printer (203dpi, 108mm, max 7ips); Designer entry: SLP-TX400 (ZPL, 203dpi).