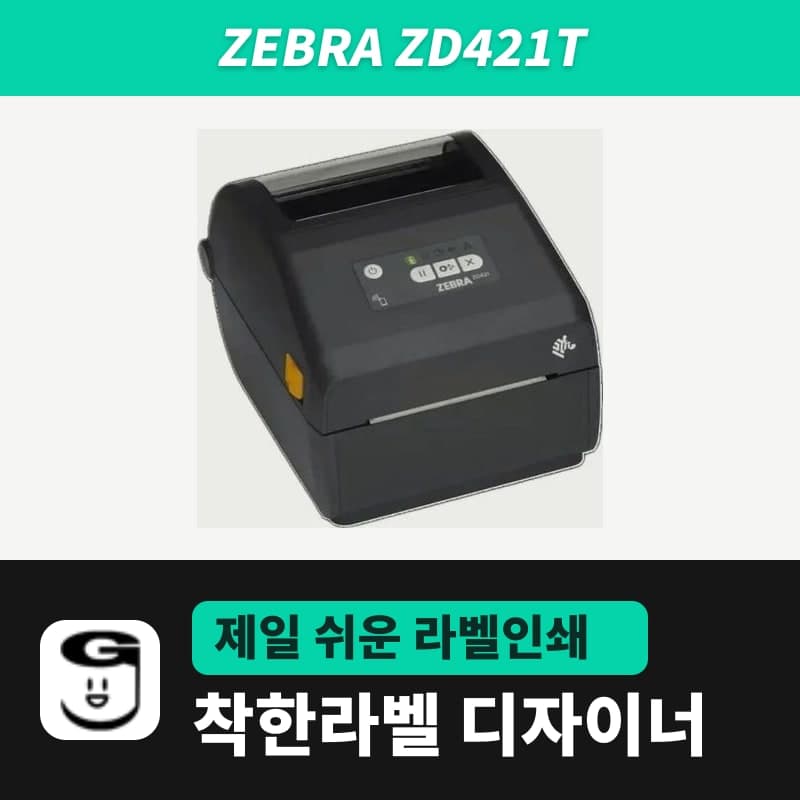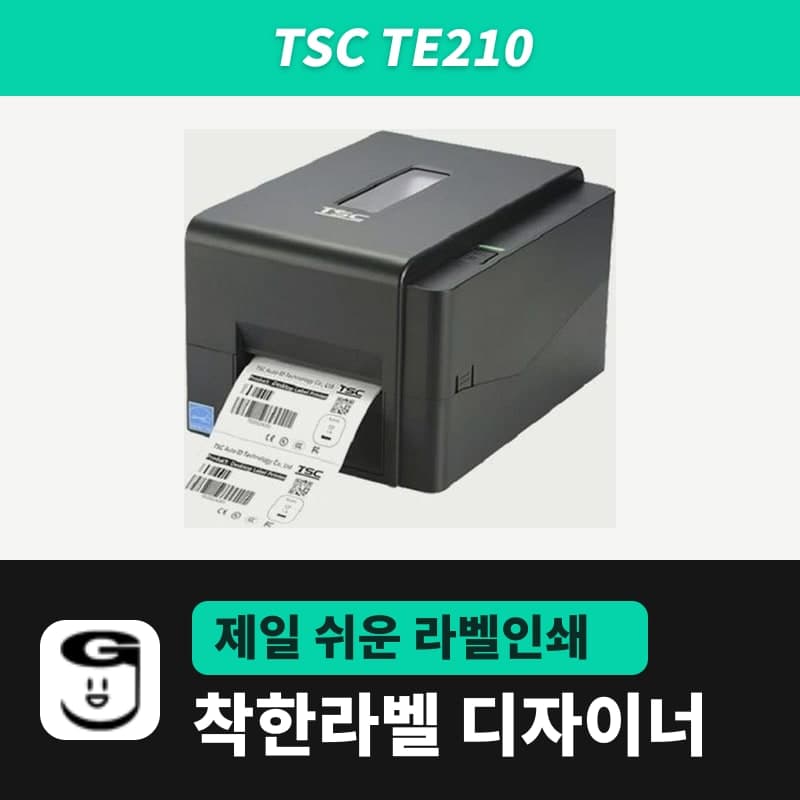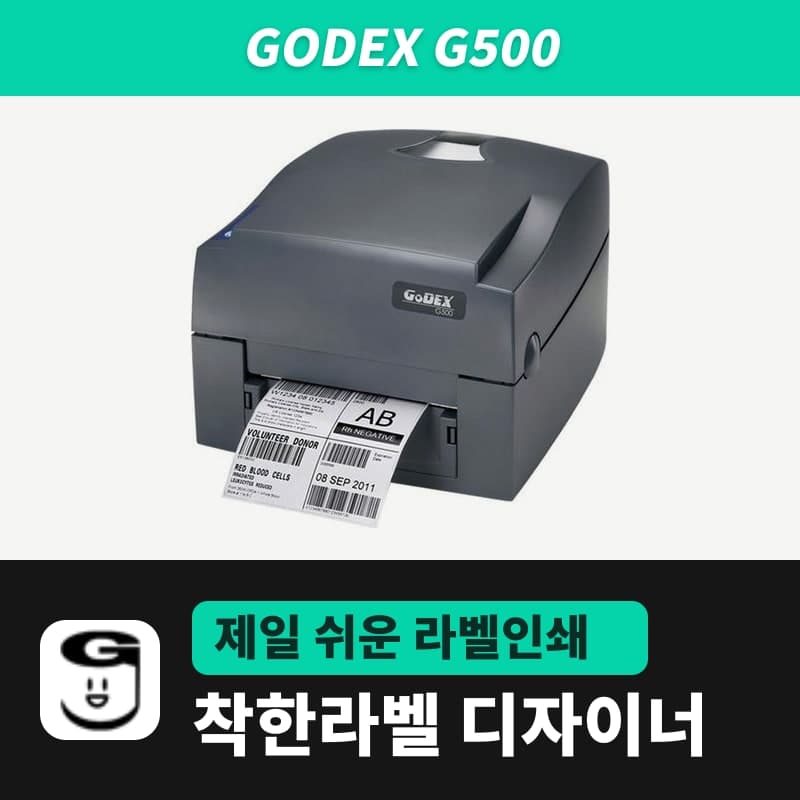
When you print from GoodLabel Designer to a printer that uses one of three languages, Zebra (ZPL), TSC (TSPL) or Godex (EZPL), the 203 or 300dpi label image is made by the designer, not the Windows driver. For a 60×40mm label at 203dpi, it builds a 480×320-dot black-and-white dot image, bundles it in that printer language together with density, speed and media commands, and sends it as one RAW job. The installed driver only holds the printer's name and USB or network port in the Windows printer list; the media size (mm) and density set in the driver window are not carried in this job.
9 brands and which ones print by direct RAW
The print path is decided by one thing: the command language of the model item you pick in the printer setup window (the Printer button in the ribbon). In the list of 9 brands, the languages that go out as RAW are ZPL, TSPL and EZPL.
| Brand | Command language of the designer model item | Print path |
|---|---|---|
| Zebra | ZPL | Direct RAW |
| TSC, Xprinter, GoodLabel | TSPL | Direct RAW |
| Godex | EZPL | Direct RAW |
| BIXOLON, SATO | ZPL | Direct RAW |
| Honeywell | ZPL or DPL depending on the model | ZPL items RAW, DPL items driver printing |
| Toshiba | TPCL | Driver printing |
For the ZPL items of BIXOLON, SATO and Honeywell, the printer itself must be set to accept ZPL commands for a RAW print to come out right. On a printer where you choose the command emulation, such as the BIXOLON XT5-40, set it to ZPL and then print one test label.
Commands sent in ZPL, TSPL and EZPL
| Setting | ZPL | TSPL | EZPL |
|---|---|---|---|
| Label size | ^PW (width in dots), ^LL (length in dots) | SIZE width mm,height mm | ^W width, ^Q height (whole mm) |
| Media type | ^MNY gap / ^MNN continuous / ^MNM black mark | GAP n mm / GAP 0 / BLINE | ^Q height,gap / ^Q height,0,feed / ^Q omitted for black mark |
| Density (range, default) | ~SD (0–30, 21) | DENSITY (0–15, 11) | ^H (0–19, 13) |
| Speed (range, default) | ^PR (1–14, 3) | SPEED (1–10, 3) | ^S (1–7, 3) |
| Label image | ^GFB bitmap | BITMAP | ~G followed by G for each row |
| Copies of the same label | ^PQ n | PRINT 1,n | ^P n |
Density (ZPL 0–30) and speed (1–14) in the Print window go out with every job through these commands, so a density you changed in the driver doesn't affect what the designer prints. In ZPL and EZPL, the size and media commands are attached only to the first label of the job. When you print several copies of a label with no print counter object, all three languages build and send the image only once, and the printer repeats it for the number of copies with ^PQ n, PRINT 1,n or ^P n.
EZPL sends width, height and gap rounded to whole mm. A document 55.5mm tall goes out as ^Q56, so for wristbands and care labels that must fit a space exactly, check the layout against the rounded length.
5 steps to the first print
- Install the printer on Windows 10 or 11 so its name appears in the printer list. For driver files, use the 3 unified drivers in the download center: Zebra, TSC and Godex.
- In the designer's printer setup window, choose the installed driver in the Printer field. If its name contains a model name from the list (for example ZD421 or TE210) as a separate word, the Printer model is picked automatically. For a model not in the list, choose an item with the same command language and the same 203 or 300dpi.
- The printer resolution (DPI) buttons in the same window show only the values the chosen model supports, and a model with only 203dpi, such as the TE210, is set to that value with no buttons. You need to click the DPI that matches the printer's head for a 100mm width to be calculated correctly as 800 dots at 203dpi or 1,182 dots at 300dpi. The Printer settings panel has a separate resolution field that always shows all 3 options, 203, 300 and 600 DPI; the difference between the two is laid out in a table in Choosing label printer DPI.
- Under Print options in the Printer settings panel, pick one print method (Printer settings, Direct thermal or Thermal transfer) and one media type (Gap labels, Continuous media or Black mark). After loading the media, click Auto detect under Troubleshoot in the printer group at the right of the ribbon (inside ≫ when the window is narrow). This sends ~JC to ZPL and EZPL printers and AUTODETECT to TSPL printers. For BIXOLON items only, the order is to first send the media settings from this window with Save to printer, and then click Detect media.
- Do a test print with 1 copy to check the position and density, then move on to the real run.
3 cases for switching to Print as image
The Print as image check box under Print options appears only when you've chosen a printer that uses ZPL, TSPL or EZPL. When you check it, the print method, media type and gap length fields are covered by a faded overlay, and the note "When printing as an image, driver settings replace the options below." appears. Printing switches to the Windows driver path, and a Printer settings button, which opens the printer driver's settings, appears in the Print window where the density and speed fields were.
- Check it if a Godex EZPL printer shows an error saying that EZPL raster printing supports widths up to 172.72mm at 300dpi. One line of EZPL graphics sent by the designer is limited to 255 bytes (2,040 dots), so the width limit is 172.72mm at 300dpi and 255.21mm at 203dpi.
- If several people share one PC and you manage media and density from the driver side, check it so printing follows those settings. If photos or gray images printed this way look rough, check the driver's dithering setting.
- Toshiba TPCL items and Honeywell DPL items have no check box and print through the driver from the start, so set density and direct thermal or thermal transfer in the driver window opened with the Printer settings button in the Print window.
If one RAW job gets stuck and the next label doesn't come out, use Clear queue in the same printer Troubleshoot window to empty the Windows print queue. Density and speed tables by command language and the troubleshooting screen are shown with pictures in the Printing chapter of the user guide.