
Godex · Label printers
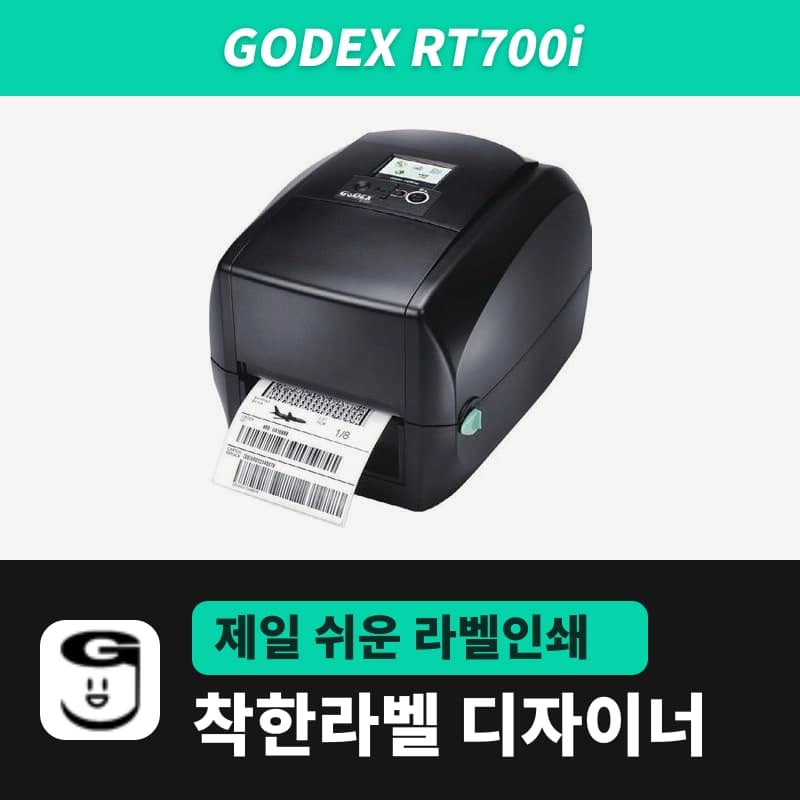
Godex RT700i label printer
The Godex RT700i is a 203dpi desktop printer with a color LCD and a C (calibration) button: up to 177mm/s, with USB, RS-232, Ethernet and USB host. With GoodLabel Designer's RT700i (EZPL, 203dpi) entry, commands override LCD density and speed; sensor selection and offsets stay as set on the LCD.
- Print method
- Thermal transfer and direct thermal
- Resolution
- 203dpi (8 dots/mm)
- Max print speed
- 177mm/s (7ips)
- Max print width
- 108mm
- Print length
- 4-1,727mm (label height in GoodLabel Designer goes up to 1000mm)
- Sensors
- Reflective sensor (moves across the full width), fixed center see-through sensor
Specifications
| Print method | Thermal transfer and direct thermal |
|---|---|
| Resolution | 203dpi (8 dots/mm) |
| Max print speed | 177mm/s (7ips) |
| Max print width | 108mm |
| Print length | 4-1,727mm (label height in GoodLabel Designer goes up to 1000mm) |
| Sensors | Reflective sensor (moves across the full width), fixed center see-through sensor |
| Media width | 25.4-118mm (user manual, RT700i specifications) / 20-118mm (same manual, RT700iW specifications; RT700i brochure) |
| Media thickness and roll | 0.06-0.2mm; roll outer diameter up to 127mm; core 25.4, 38.1mm |
| Ribbon | Wax, wax-resin, resin; 300m; width 30-110mm; roll outer diameter 68mm; 1-inch core |
| Interfaces | USB device, RS-232 (DB-9), USB host, Ethernet 10/100 |
| Control panel | Color TFT LCD with arrow buttons, C (calibration) button, FEED button, power button |
| Real-time clock | Standard |
| GoodLabel Designer model | RT700i (EZPL, 203dpi) |
The Godex RT700i is a 203dpi desktop printer whose settings are changed with a color LCD and arrow buttons. It prints up to 177mm per second (7ips) and has USB, RS-232, Ethernet and USB host ports. The RT700i entry in the GoodLabel Designer list is EZPL, 203dpi, so some of the settings made on the LCD are overridden again by commands when you print from the designer.
Where LCD settings and designer commands overlap
| RT700i LCD item | Printer range | When printing from the designer |
|---|---|---|
| Darkness | 0-19 | Print window density (0-19, default 13) overrides it with ^H on every label |
| Speed | 2-5 or 7 | Print window speed (1-7, default 3) overrides it with ^S on every label |
| Media Type | Label with Gaps / Marks / Continuous | For Gap labels and Continuous media, ^Q on the first label of the job overrides it; for Black mark, no ^Q is sent and the LCD setting stays |
| Printing Mode | Direct Thermal / Thermal Transfer | Choosing Direct thermal or Thermal transfer overrides it with ^AD or ^AT; with "Printer settings" the LCD setting stays |
| Media Detection | Auto Select / See-Through / Reflective | No related command is sent, so the LCD setting stays |
| Horizontal, Vertical, Start Offset | -100 to 100 | No related command is sent, so the LCD correction still applies |
If the print position is off and you first adjust Left/right margin (0-3.5mm) and Vertical offset (-20 to 20mm) in the designer's Advanced settings, the LCD offsets and the designer correction add up and the cause becomes hard to find. To correct from one side only, first check that the LCD offsets are 0. Which field each command comes from is in the table on the G500 page.
When to have the C button read the media again
The RT700i has a separate C button just for measuring media. If you have changed gap labels to a continuous or black mark roll, or Media Error appears on the LCD, press the C button for 2 seconds to measure the label and ribbon conditions again automatically. This button does the same as the automatic measurement command ~S,SENSOR, so it cancels the job being printed and starts measuring right away.
After measurement, change the designer media type to the same kind as the new roll. Black mark in particular prints with this measurement result because the designer does not send ^Q, so the correct order is to load the mark roll and press the C button first.
Pausing and canceling with the FEED button
- Pressing FEED once during printing shows "PAUSE..." on the LCD and stops; pressing it once more continues from the remaining labels.
- Holding FEED for 3 seconds during printing cancels that job. If you sent 10 copies of the same label from the designer and cancel at the 2nd, the remaining 8 are not printed.
- If a job sent by mistake is also left in the Windows queue, delete it with "Clear queue" in the designer's Troubleshoot window.
Roll requirements for the RT700i
Rolls inside the printer can be up to 127mm in outer diameter, and only two core sizes are accepted: 25.4mm and 38.1mm. The lower limit of media width differs by source. By the RT700i specifications in the RT700i series user manual (Rev 1.9, 2015) it is 25.4-118mm; by the RT700iW specifications in the same manual and the RT700i brochure it is 20-118mm. For rolls narrower than 25.4mm, keep this difference in mind and start with a test print.
Compatible with GoodLabel Designer
You can design and print labels for this model with GoodLabel Designer, our free label software. GoodLabel Designer · User Guide
FAQ
- The RT700i has a clock. Which time does a designer date element print?
- The designer fills in the date and time with the PC time at the moment printing starts and sends it as part of the label image. The RT700i clock is not used for this printing, so just make sure the PC time is correct.
- What is the difference between the RT700iW and RT700i entries in the list?
- Both are registered as EZPL, 203dpi, so the designer sends the same commands. If the Windows queue name contains RT700iW, that entry is detected automatically, and choosing RT700i instead does not change the print result.
- I set Darkness to 12 on the LCD, but prints from the designer are darker.
- The density in the designer's Print window (default 13) overrides the printer setting with a ^H command on every label. If you lower the designer Density field to 12, it matches the darkness set on the LCD.
Drivers & manuals
How to buy
- In Korea, this product is sold through our Korean online store. Korean product page →
- Outside Korea, contact us by email. Email: Contact →
- Or buy from an authorized dealer in your country.
Other models in this category
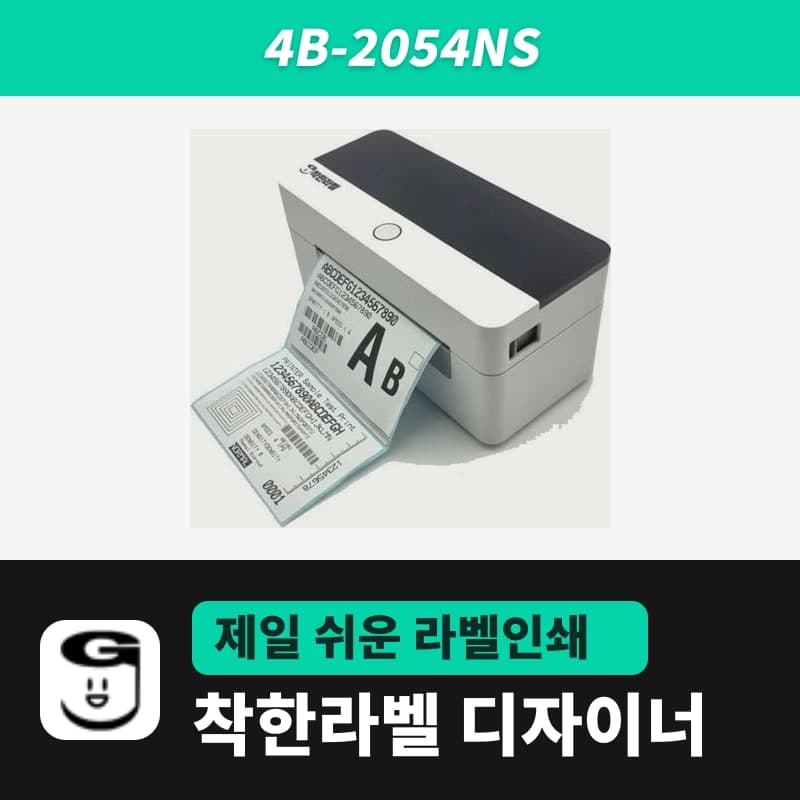 Good LabelGoodLabel 4B-2054NS direct thermal label printerThe GoodLabel 4B-2054NS is a direct thermal only 4-inch printer driven by GoodLabel Designer in TSPL; the Gap length field value goes into the GAP command as is. GoodLabel 4B-2054NS, W-4B-2054NS and Xprinter 4B-2054N in the model list are all TSPL at 203 dpi, so each sends the same commands.
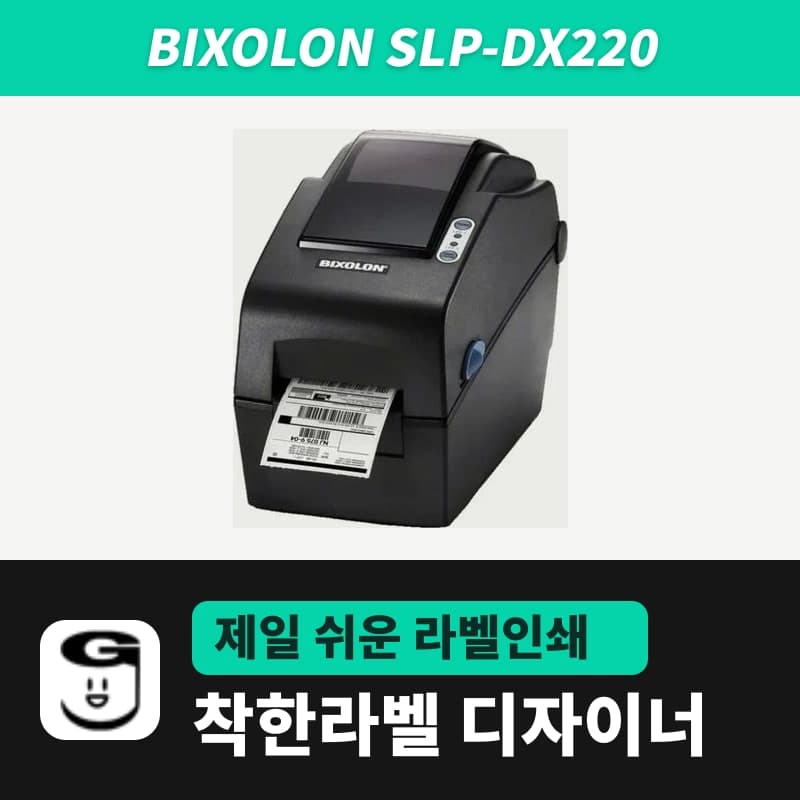 BixolonBixolon SLP-DX220 label printerThe SLP-DX220 is a Bixolon 2-inch direct thermal printer, 54mm print width, 203dpi, up to 6ips, rolls 15–60mm wide. Select SLP-DX220 (ZPL, 203dpi) in the GoodLabel Designer model list, and the Troubleshoot window skips the print method step and guides only saving the label type and Detect media.
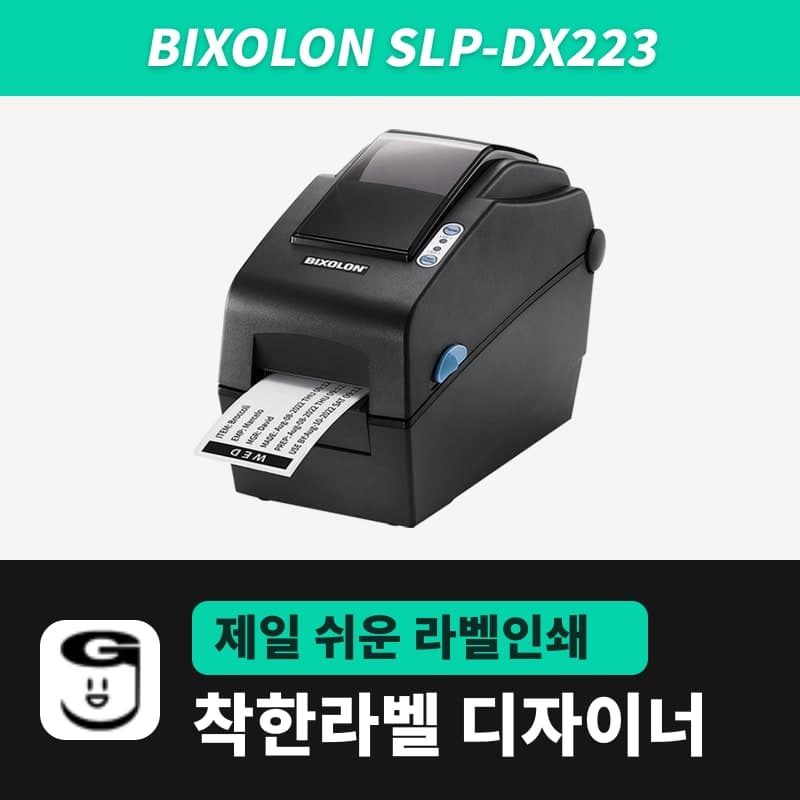 BixolonBixolon SLP-DX223 label printerA 2-inch direct thermal printer for dense text and QR codes on small labels 10–20mm tall, using the SLP-DX220 body with a head of about 11.8 dots per mm (print width 56.9mm, max 4ips). In the Designer model list it appears under its sales name, SLP-DX223, with a single ZPL, 300dpi setting.
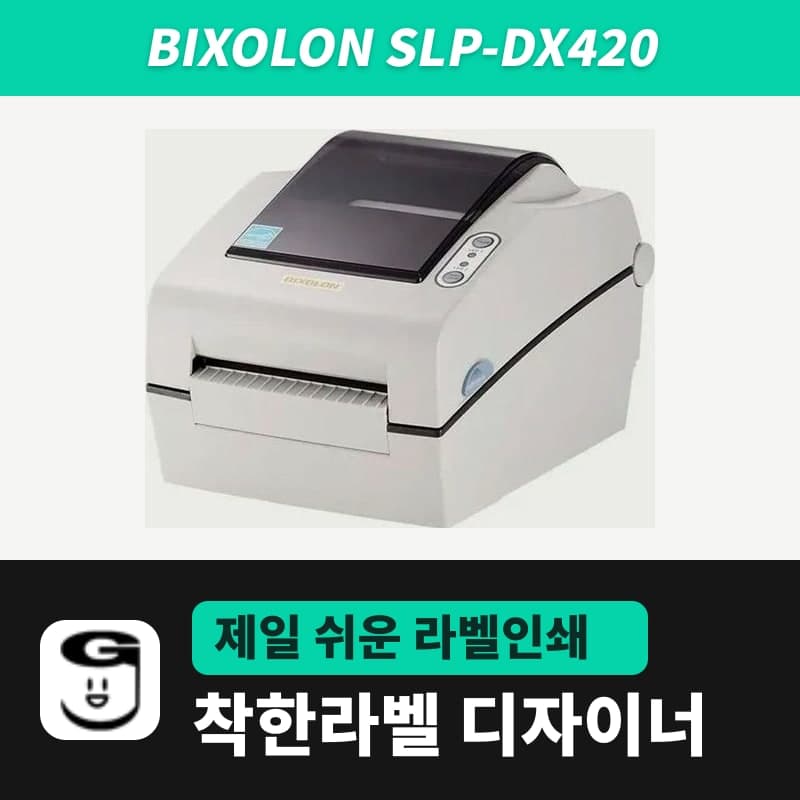 BixolonBixolon SLP-DX420 label printerThe SLP-DX420 is a Bixolon 4-inch direct thermal only printer, 108mm wide at 203dpi and up to 7ips, suited to printing many thermal labels such as 100×150mm shipping labels. In GoodLabel Designer, select SLP-DX420 (ZPL, 203dpi); copies of the same label go as one ^PQ quantity command.
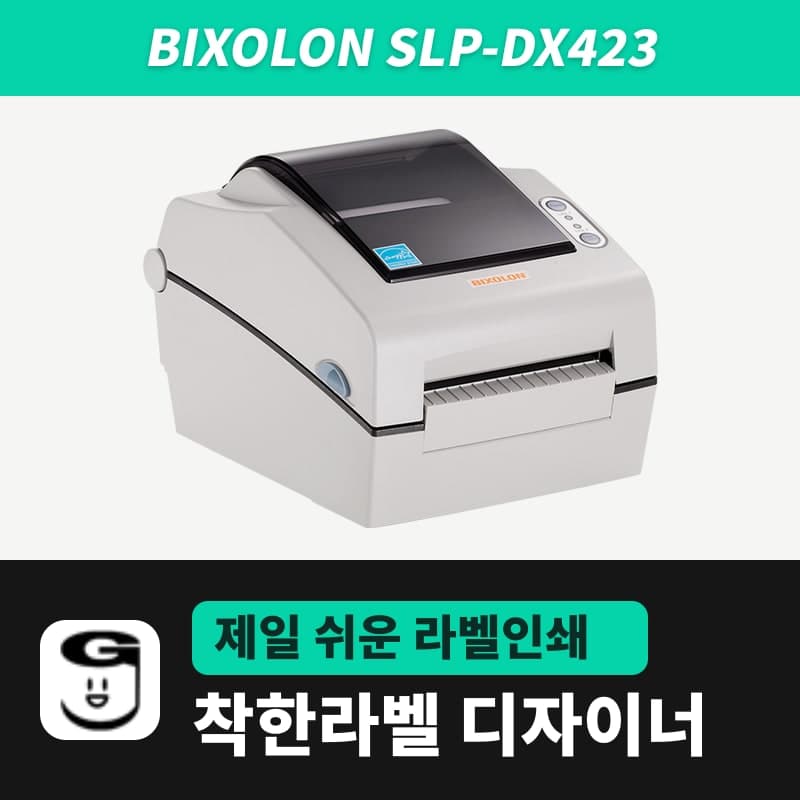 BixolonBixolon SLP-DX423 label printerFor the SLP-DX423, you must select the SLP-DX423 (ZPL, 300dpi) entry in GoodLabel Designer; if you send to the 203dpi SLP-DX420 entry, labels come out shrunk to about 68% of their size. The printer is a Bixolon 4-inch direct thermal only model with a 105.7mm print width and a max speed of 5ips.
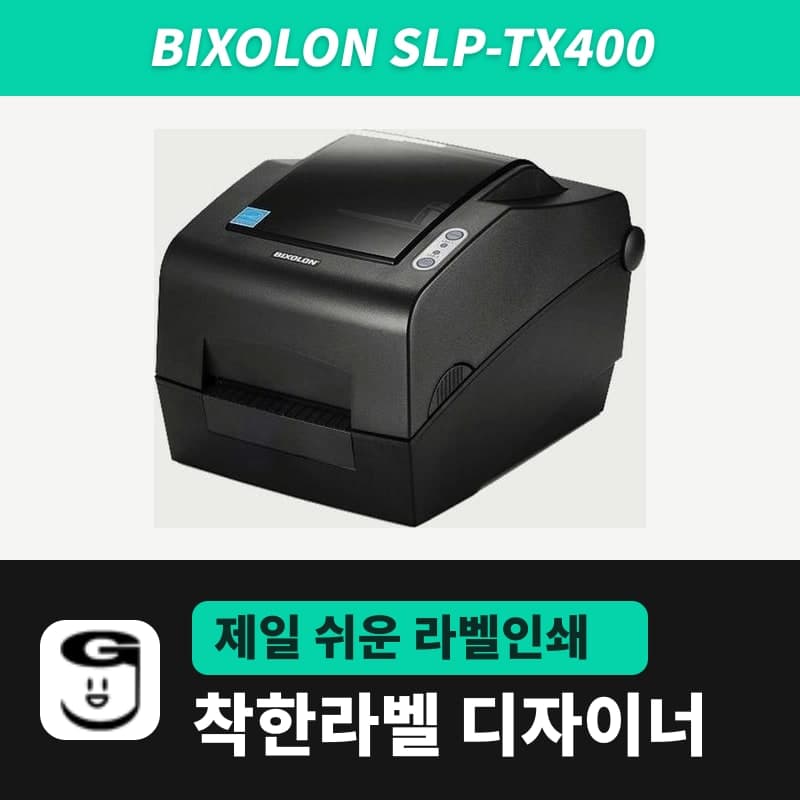 BixolonBixolon SLP-TX400 label printerIn the GoodLabel Designer Troubleshoot window, the print method step (thermal transfer or direct thermal) appears only when the Printer model field shows SLP-TX400. It is a Bixolon 4-inch thermal transfer and direct thermal printer (203dpi, 108mm, max 7ips); Designer entry: SLP-TX400 (ZPL, 203dpi).