Selecting and aligning multiple objects
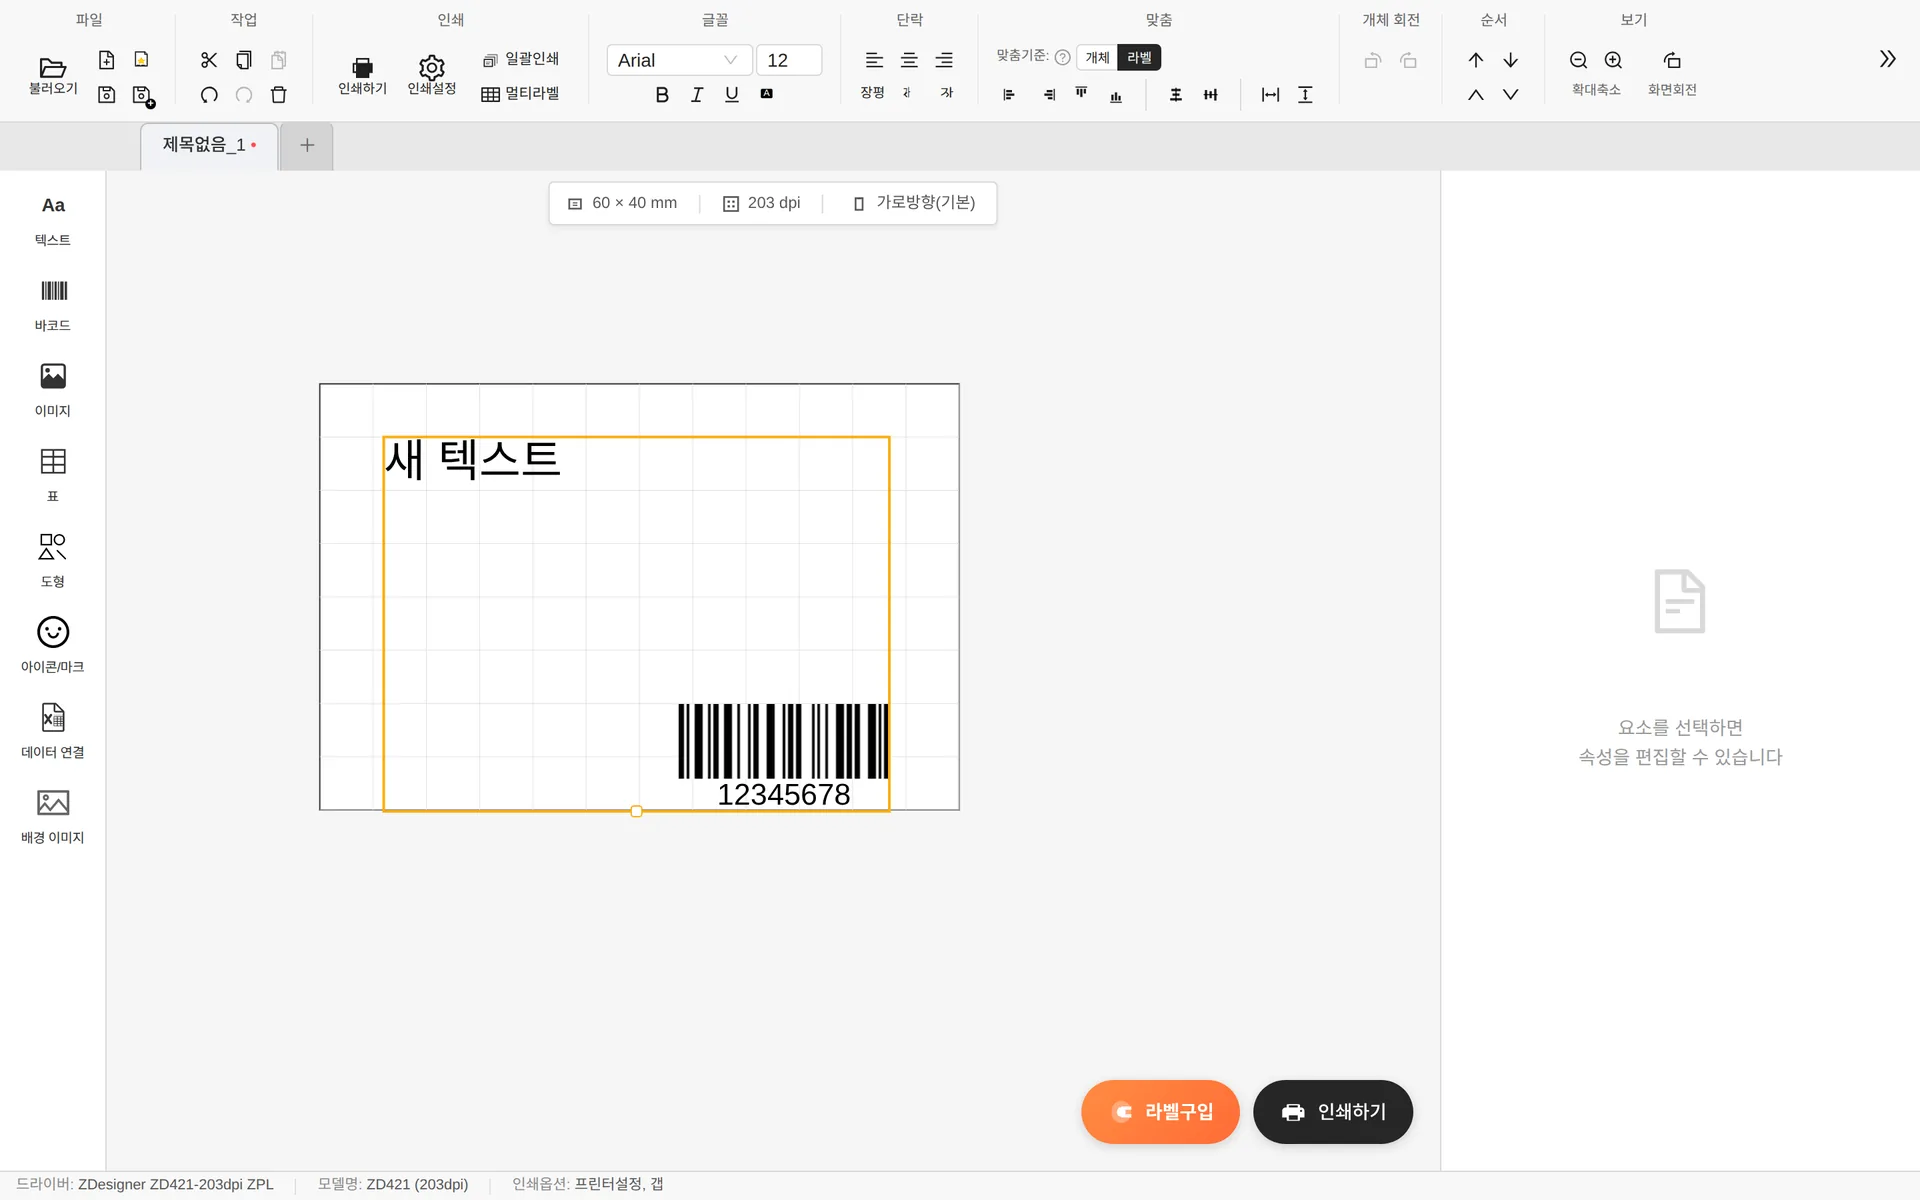
Multiple selection — the alignment tools in the ribbon become active- Drag on an empty area to select all objects within the range. Shift+click adds or removes objects one at a time, and Ctrl+A selects all.
- Relative to: [Object] — Aligns the selected objects to each other (select 2 or more)
- Relative to: [Label] — Aligns relative to the label area (works with just 1 selected)
- Distribute horizontally/vertically — Spaces objects evenly horizontally or vertically (select 3 or more)
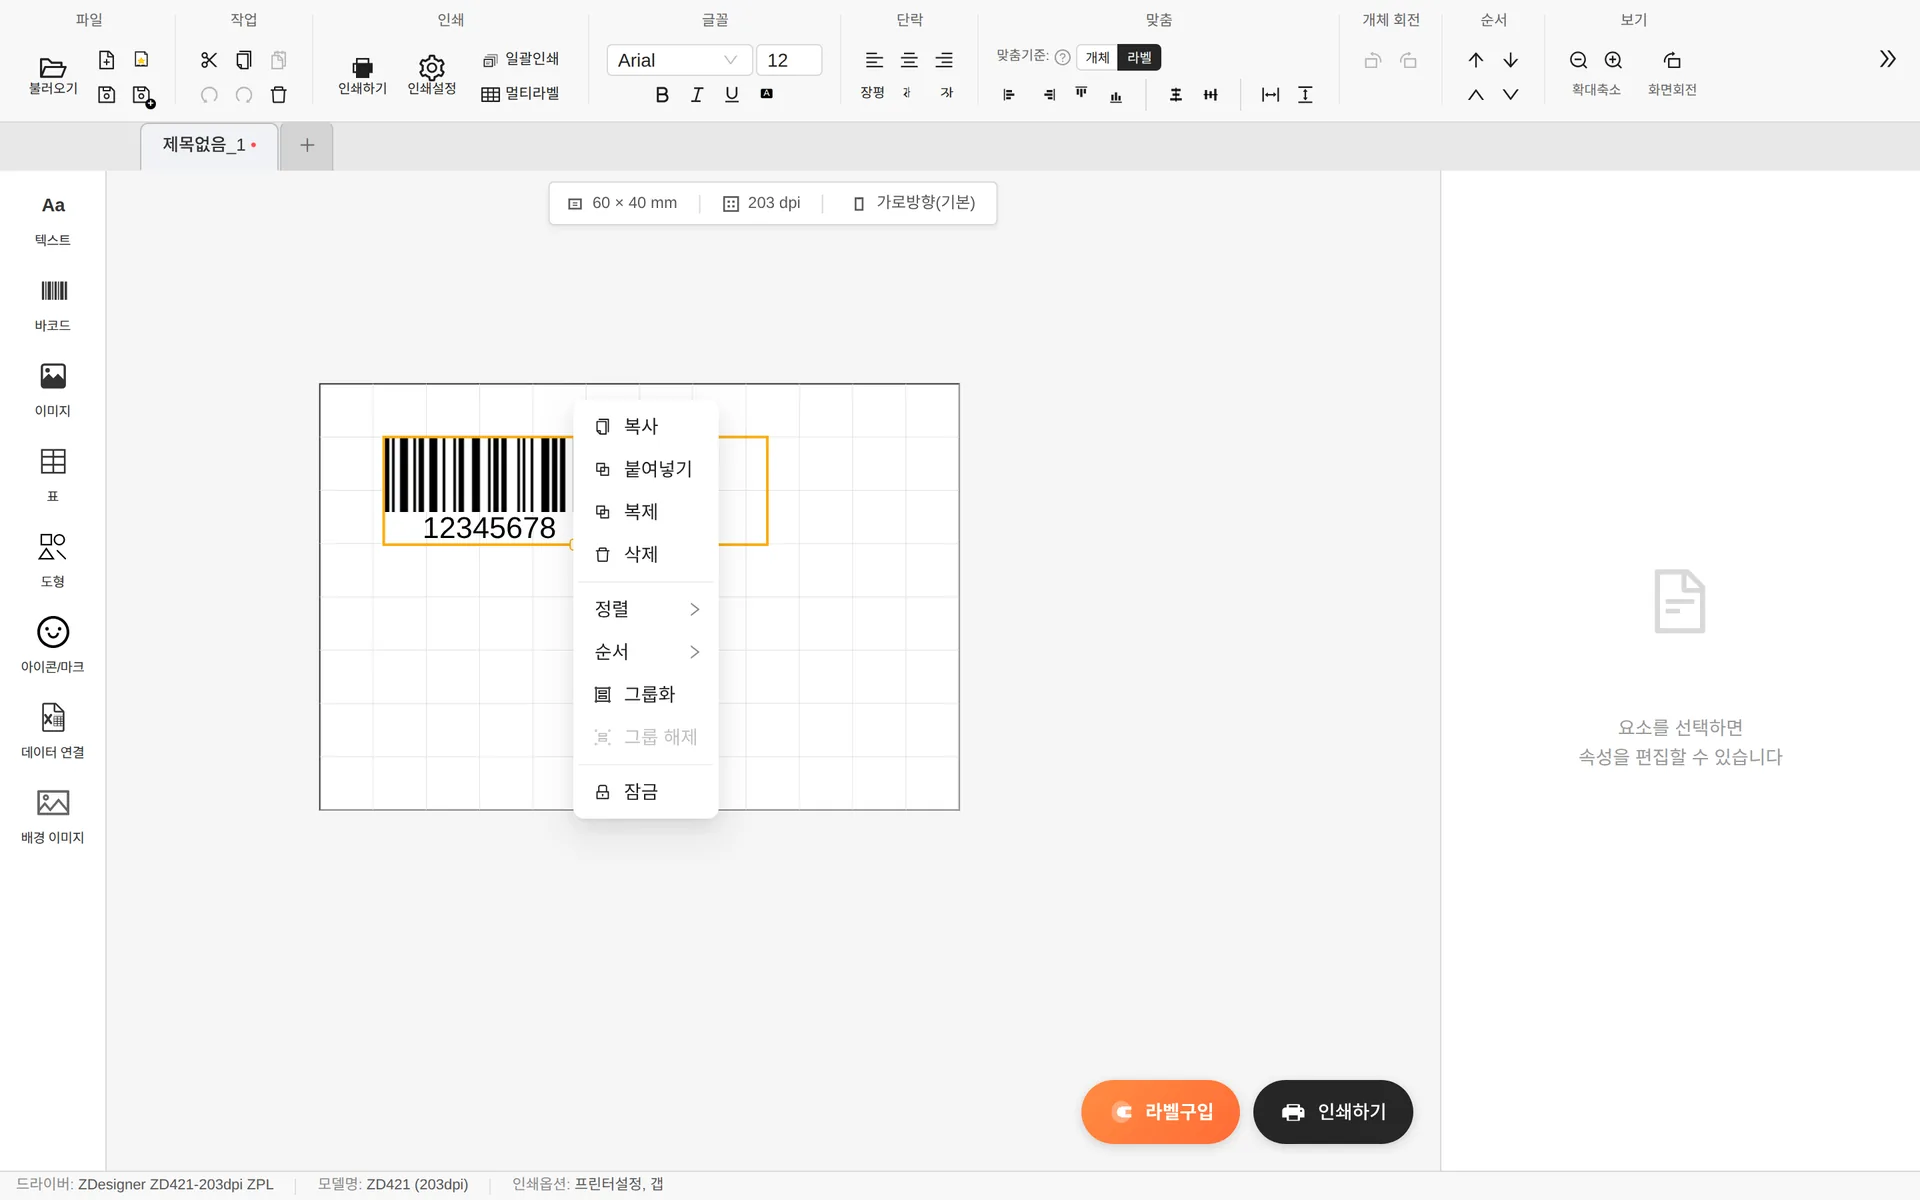
Right-click menu
Object right-click menu- Copy · Paste · Duplicate (Ctrl+D) · Delete
- Alignment — Align left/center/right, Align top/center/bottom
- Order — Bring to front / Send to back / Bring forward / Back (same as the ribbon's [Order] group)
- Group (Ctrl+G) / Ungroup (Ctrl+Shift+G) — Double-click a group to edit the objects inside it individually, and press ESC to exit.
- Lock / Unlock — Locked objects can't be moved or deleted by accident.
Moving and undo
- When you drag an object, it snaps automatically to other objects and the label edges, and guide lines appear.
- Arrow keys — Nudge by 1mm / Shift+arrow keys — Move in larger steps
- Ctrl+Z Undo, Ctrl+Y Redo (up to 50 steps)
View
- Zoom — Ctrl+mouse wheel or the ± buttons in the ribbon's [View] group (25%–500%)
- Rotate view — Rotates only the view by 90° so portrait labels are easier to edit. The printed result does not change.
- The canvas Rulers · Grid are ON by default, and you can turn each one on or off in Preferences.
- Edge areas the printer can't print are hatched as the Non-printable area, and a warning appears if an object is inside it.