New tables and legacy tables
In the table tool, choose the new table first. It supports merging and splitting cells, resizing rows and columns, and fitting row height to content. You can also keep editing legacy tables and documents.
- Pick the number of rows and columns you want in the Table tool on the left. For the previous method, choose from the small Legacy table menu.
- Select cells, then use Merge cells, Split cells or Unmerge cells in the properties panel.
- Resize individual rows and columns by dragging the inner borders of the table or with Row height · Column width in the properties. You can also insert and delete rows and columns and use Equal heights · Equal widths.
- If the text is long, use Fit to contents to increase the row height. A fixed height can cut off content, so check before printing.
- Drag the table's border or its move handle to move it, and keep editing cells and borders after rotating it. Don't confuse the actual print orientation with rotating the editor view.
Tables in existing documents keep their original format. They are not converted to new tables automatically, and existing files are not overwritten.
Drawing shapes
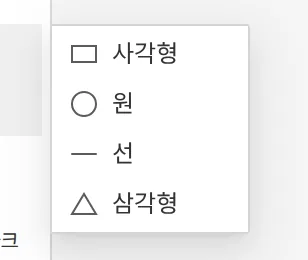
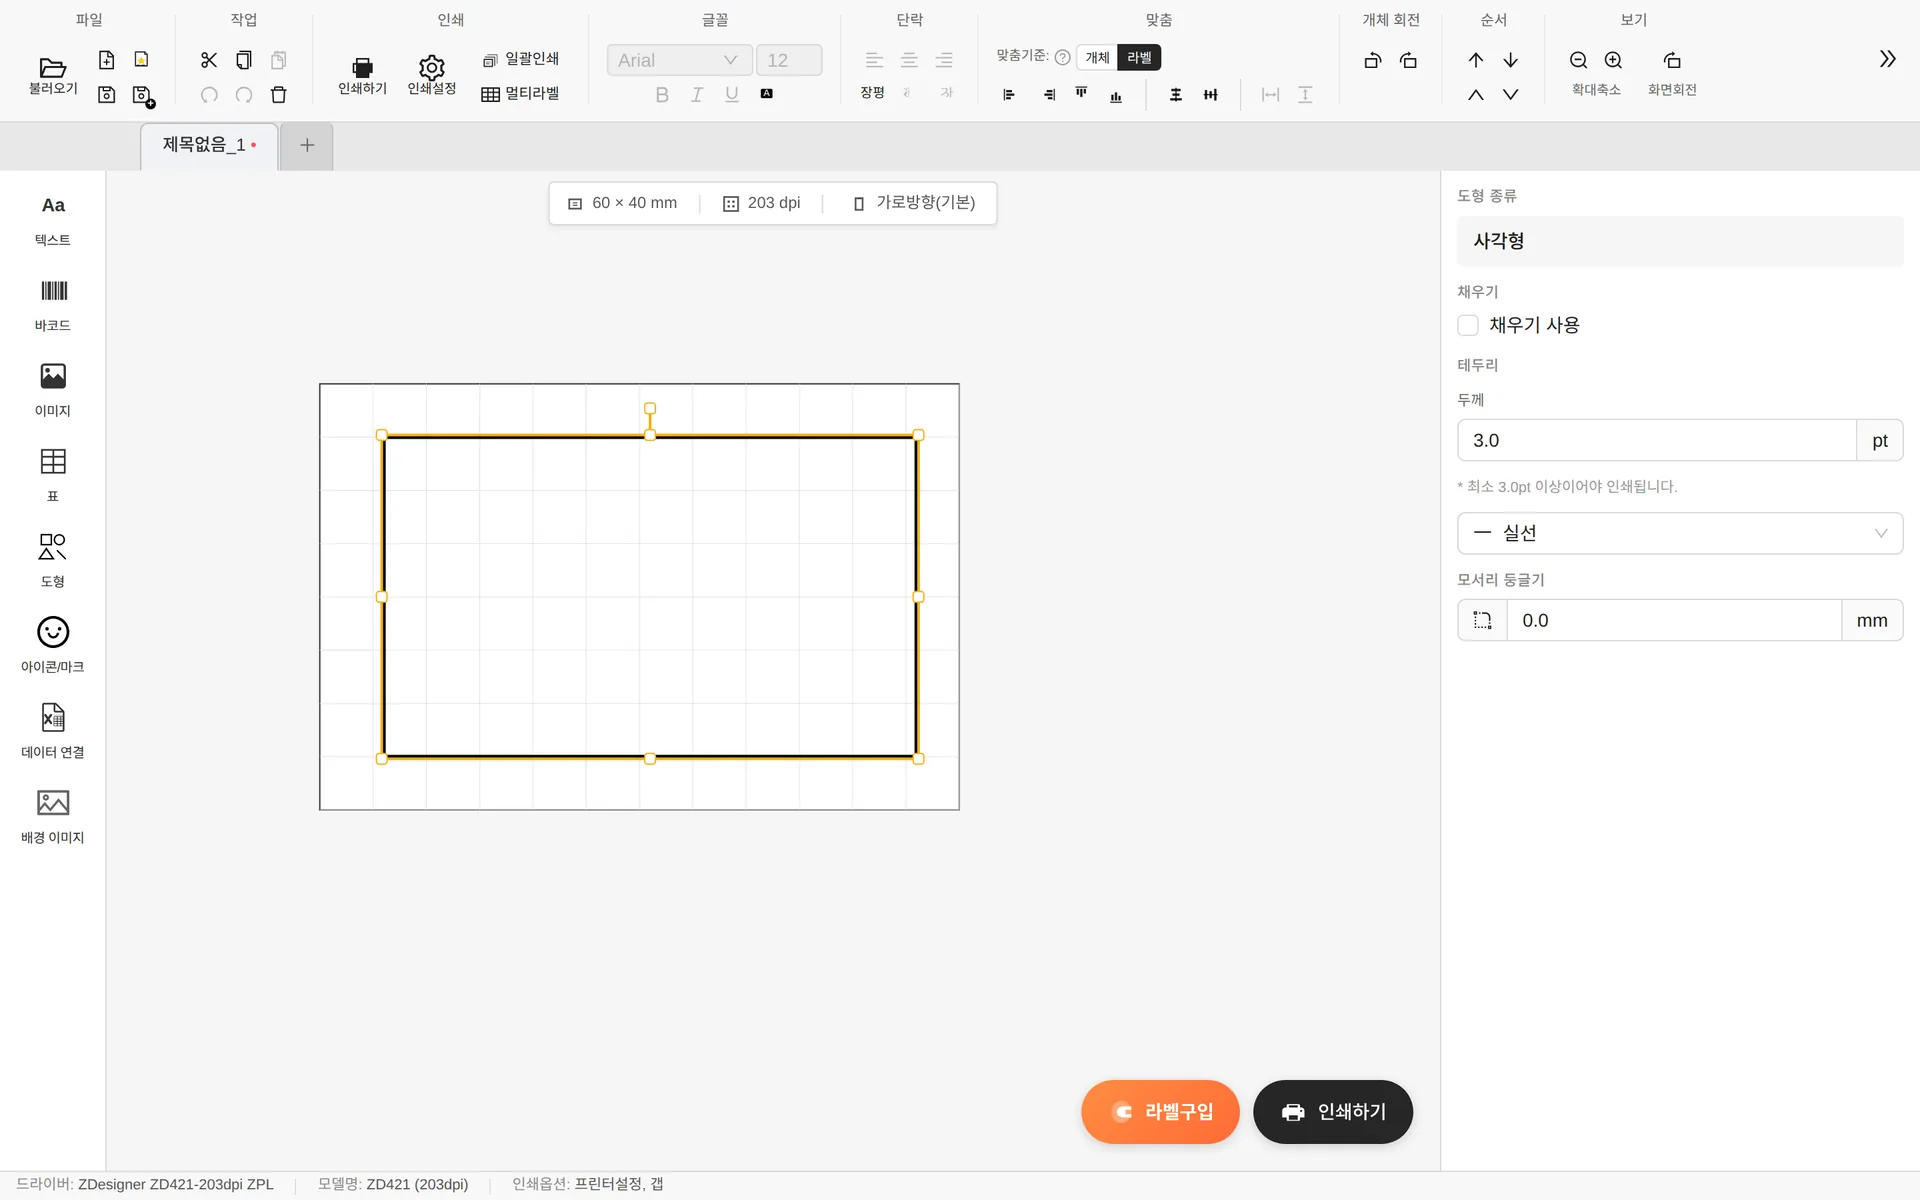
- Enable fill — Fills the inside of the shape with black.
- Borders — Thickness (pt) and style (Solid / Dashed / Dotted)
- Corner radius — Rectangles only, in mm
- Lines only have thickness and style settings.
Border and line thickness must be 3pt or more to print clearly on a label printer. Thinner lines may break up or not print at all.